Using Templify to create a new S#arp Architecture solution
Last week Howard van Rooijen blogged about Templify. I am happy to announce that Templify is now the offical way to create a S#arp Architecture solution. Templify comes packaged with a S#arp Architecture package, so there is nothing you need to do, other than install Templify, to get it going. I'll leave the details on how to install and use Templify for Howard's post. This article assumes you have Templify installed already.
What about NuPack?
We've been asked several times about how Templify fits with NuPack and are we going to provide a package for NuPack delivery? Templify might appear to be similar to NuPack, but they solve different problems. NuPack is designed to managed assemblies at a project level. While it can work on a solution level, it really is meant for the project level. This might change in the future, but for now that is the way it goes. Templify is both a package creator and a package deployer. It can create a package from your existing project as well as deploy packages others provide you. With regards to creating a package for NuPack, this is something me might provide in the future, but it would be for updating assemblies, not the package. We've had our fill with Visual Studio templates and are really not keen on going back to their use.
Getting started with Templify
- If you haven’t already done so, install the T4Toolbox from http://www.codeplex.com/t4toolbox. This enables Visual Studio with templating capabilities. (This is needed for the CRUD scaffolding generator.) Please note any incompatibilities noted within the section entitled "Installing and Configuring Prerequisites."
- Optionally install the T4 Editor Community Edition from http://www.t4editor.net/downloads.html which will add basic coloring to the templates from within Visual Studio. Or use the free version of Tangible T4 Editor from http://t4-editor.tangible-engineering.com/T4-Editor-Visual-T4-Editing.html. It works for Visual Studio 2008 and Visual Studio 2010.
- You’re now ready to create your S#arp Architecture project:
- Using Windows Explorer navigate to the directory you would like to create the solution folder in
- Right click the folder and click "Templify Here"
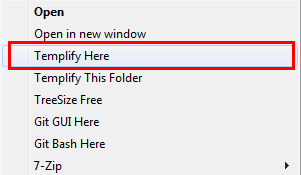
This will bring up the Templify UI.
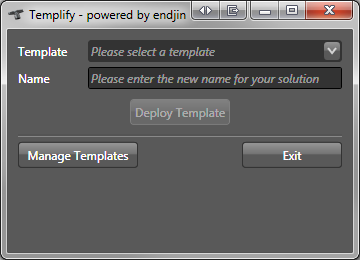
- Select the Template you would like to use, then enter the name of your solution.
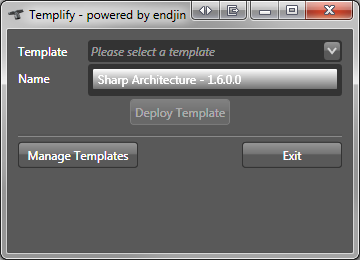
- Click the "Deploy Template" button and wait until you see the "Package Sucessfully Deployed" message appear.

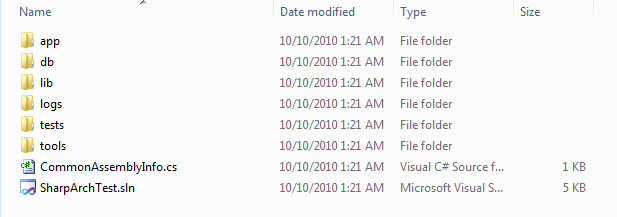
- Browse the new solution folder and you will see your new S#arp Architecture solution structure. Happy coding
To read more about S#arp Architecture's template and code Generation, please go here: http://wiki.sharparchitecture.net/VSTemplatesAndCodeGen.ashx.