DotNetStories

I have decided to write a series of posts on how to write a small ASP.Net MVC 4.0 application.I will develop this application step by step and I will explain everything that you need to know in order to develop ASP.Net MVC 4.0 applications. This is the third post in this series. You can find the first one here and the second one here. Make sure you read and understand the first post and the second post.
As I design and develop the application I will explain some of the most common building blocks of ASP.Net MVC like Code blocks,Code expressions,Action Results,Action Selectors,Action Filters, Layout Views and Partial Views.
Now we have to think about the data access technology that we will use in our sample application. I am going to build an ASP.Net MVC application where users can search through a collection of movies and rate them.
I will not use traditional ADO.Net data access techniques. I will use Entity Framework (EF) which is part of the .Net framework.
Obviously I cannot go into much detail on what EF is and what it does. I will give again a short introduction.The .Net framework provides support for Object Relational Mapping through EF. So EF is a an ORM tool and it is now the main data access technology that microsoft works on. I use it quite extensively in my projects. Through EF we have many things out of the box provided for us. We have the automatic generation of SQL code.It maps relational data to strongly types objects.All the changes made to the objects in the memory are persisted in a transactional way back to the data store.
You can search in my blog, because I have posted many posts regarding ASP.Net and EF.
There are different approaches (paradigms) available using the Entity Framework, namely Database First, Code First, Model First.
You can find in this post an example on how to use the Entity Framework to retrieve data from an SQL Server Database using the "Database/Schema First" approach.
In this approach we make all the changes at the database level and then we update the model with those changes.
In this post you can see an example on how to use the "Model First" approach when working with ASP.Net and the Entity Framework.
This model was firstly introduced in EF version 4.0 and we could start with a blank model and then create a database from that model.When we made changes to the model , we could recreate the database from the new model.
The Code First approach is the more code-centric than the other two. Basically we write POCO classes and then we persist to a database using something called DBContext.
In this application we will us the Code First approach when building our data-centric application with EF.
Code First relies on DbContext. We create 2,3 classes (e.g Movie,Review) with properties and then these classes interact with the DbContext class.Then we can create a new database based upon our POCOS classes and have tables generated from those classes.We do not have an .edmx file in this approach.By using this approach we can write much easier unit tests.
DbContext is a new context class and is smaller,lightweight wrapper for the main context class which is ObjectContext (Schema First and Model First).
When building an application the most important thing is to understand the domain and the domain-business objects. These should be the objects that should drive the application and not e.g the database schema. So I like to design my entities very carefully and
1) Launch Visual Studio and open your application.
2) We will add the 2 entities I am going to show you below in the Models folder. Add a new class file named Movie.cs inside the Models folder.The Movie.cs entity is as follows
public class Μovie
{
public int Id { get; set; }
public string Name { get; set; }
public string Director { get; set; }
public DateTime YearReleased { get; set; }
public ICollection<MovieReview> Reviews { get; set; }
}
We have added some properties in this entity. Now we need to add the MovieReview entity. Add a new class file named MovieReview.cs inside the Models folder.The MovieReview.cs entity is as follows.
public class MovieReview
{
public int Id { get; set; }
public int Rating { get; set; }
public string Comment { get; set; }
public int MovieId { get; set; }
}
So we have our entities ready. We have one movie and many reviews. That should be clear by now.
I will instantiate these objects store them and retrieve them in my database. My database will be an SQL Server database where I will create from the entities!!!!
Then we need to create a context class that inherits from DbContext.Add a new class to the Models folder.Name it MovieDBContext.cs .Now that we have the entity classes created, we must let the model know.I will have to use the DbSet<T> property.The code for this class follows
public class MovieDBContext:DbContext
{
public DbSet<Μovie> Movies { get; set; }
public DbSet<MovieReview> Reviews { get; set; }
}
The MovieDBContext is a database context class.This class is responsible for talking to the underlying database,storing and updating the data to the database.
We need to add this reference to the file
using System.Data.Entity;
Now we need to create the connection string.The only place we can do that is by opening the web.config file and adding the following lines of code (inside the <connectionStrings> section)
<connectionStrings>
<add name="MovieDBContext"
connectionString="Data Source=(LocalDb)\v11.0;AttachDbFilename=|DataDirectory|\MovieReviews.mdf;Integrated Security=True"
providerName="System.Data.SqlClient" />
</connectionStrings>
3) Now we need to access our model from a controller.This is going to be a simple class that retrieves the footballers data.
Right-click the Controllers folder and create a new MovieController controller. Have a look at the picture below to set the appropriate settings and then click Add
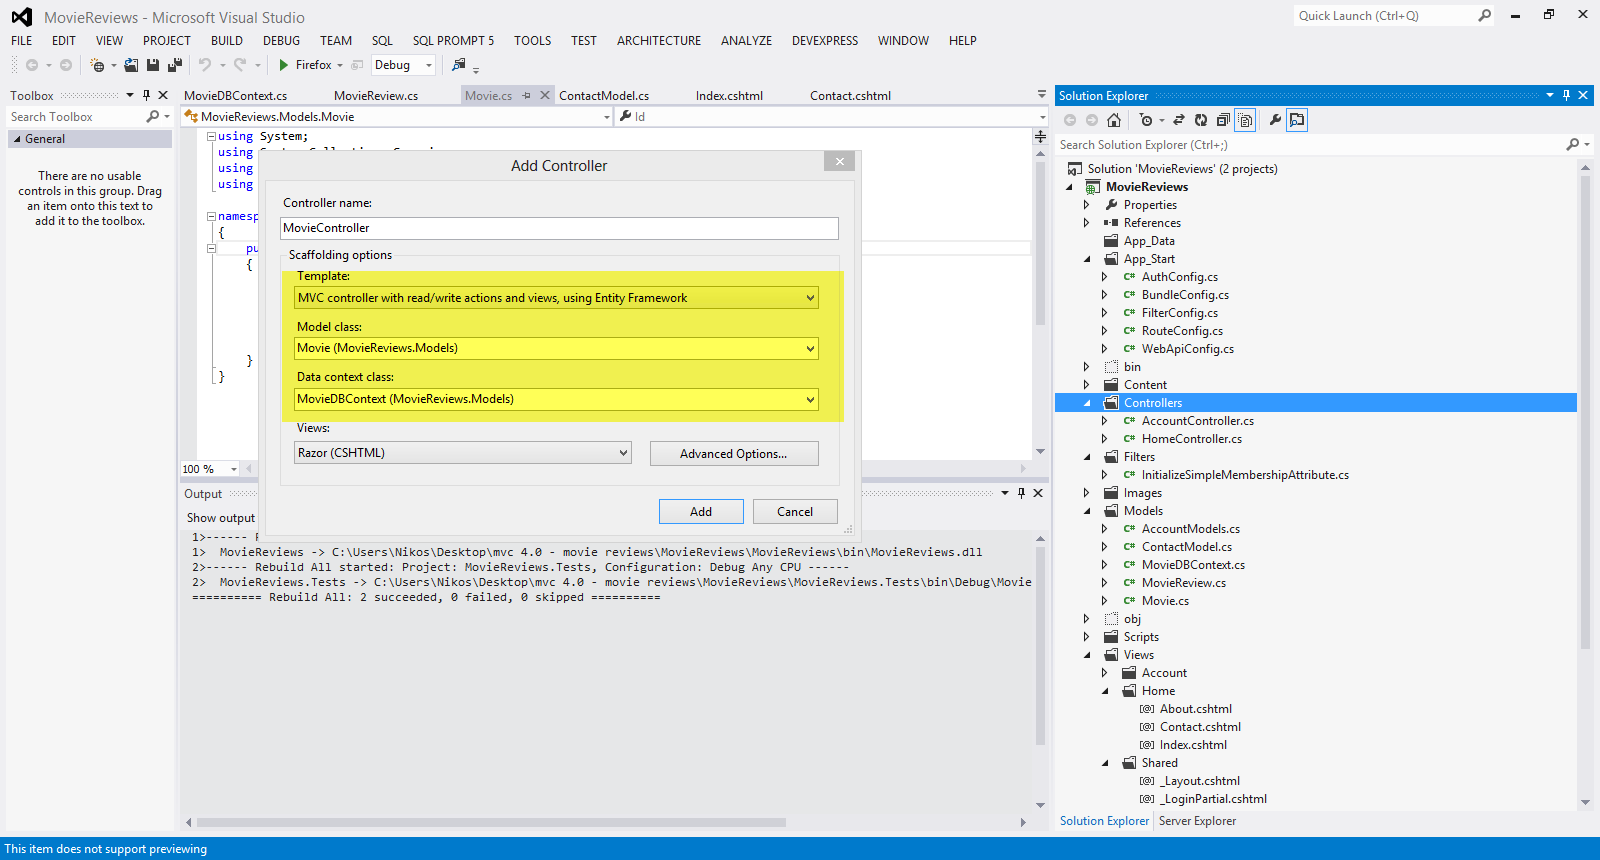
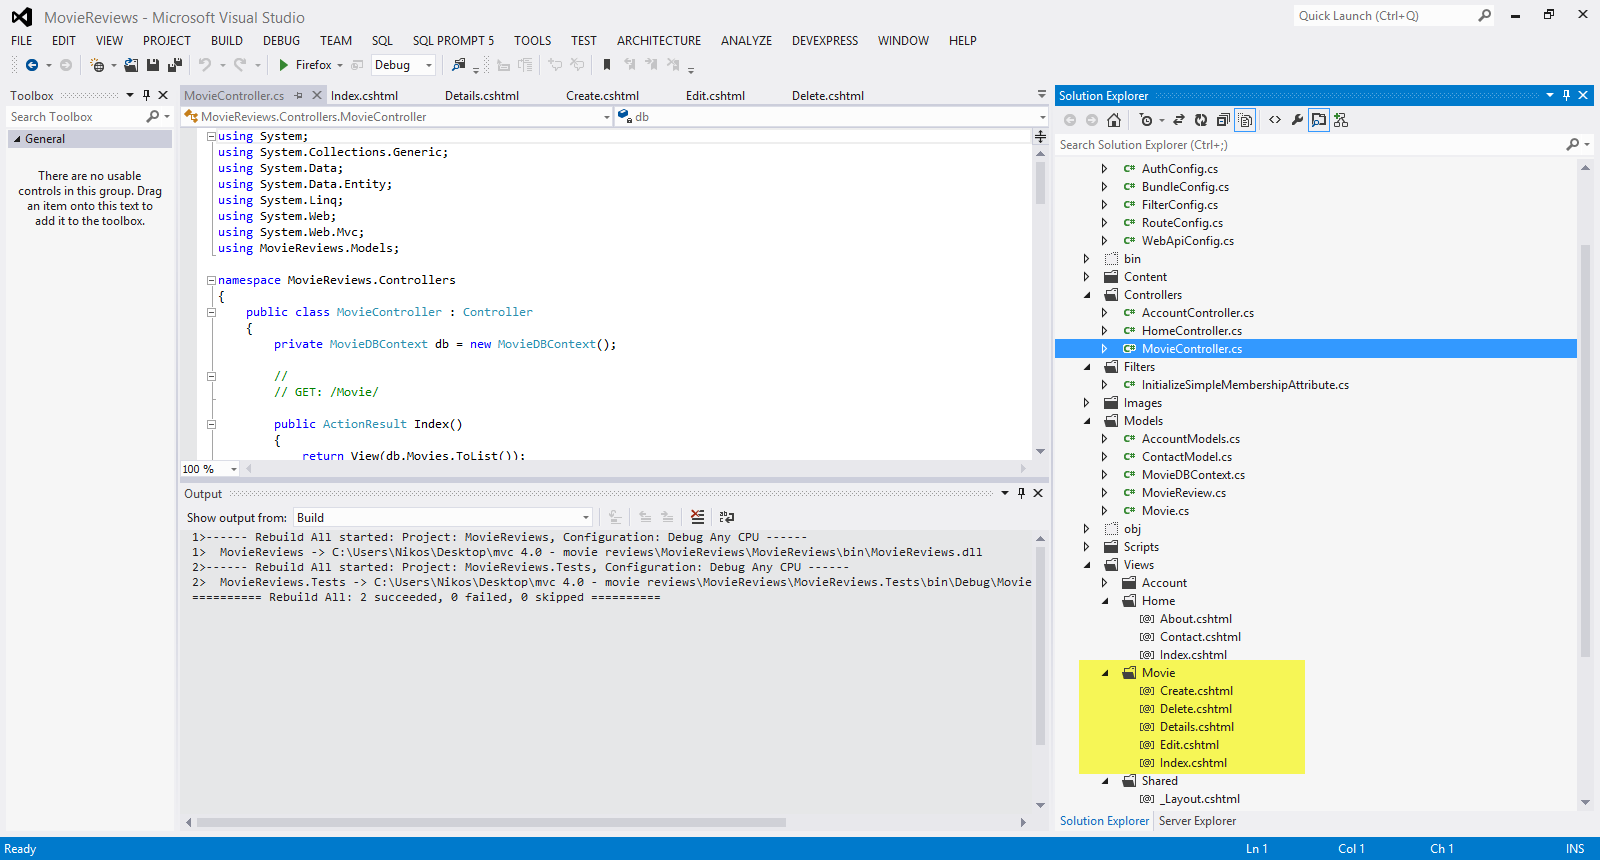
Visual Studio will create the following
A MovieController.cs file in the project's Controllers folder.
A Movie folder in the project's Views folder.
Create.cshtml, Delete.cshtml, Details.cshtml, Edit.cshtml, and Index.cshtml in the new Views\Footballer folder.
Have a look at the picture below
The ASP.NET MVC 4 framework automatically creates the CRUD (create, read, update, and delete) action methods and views.This is know as scaffolding. We have a fully functional web application that lets you create, list, edit, and delete records.
4) Build and run your application.Navigate to the localhost/youport/movie
Have a look at the picture below
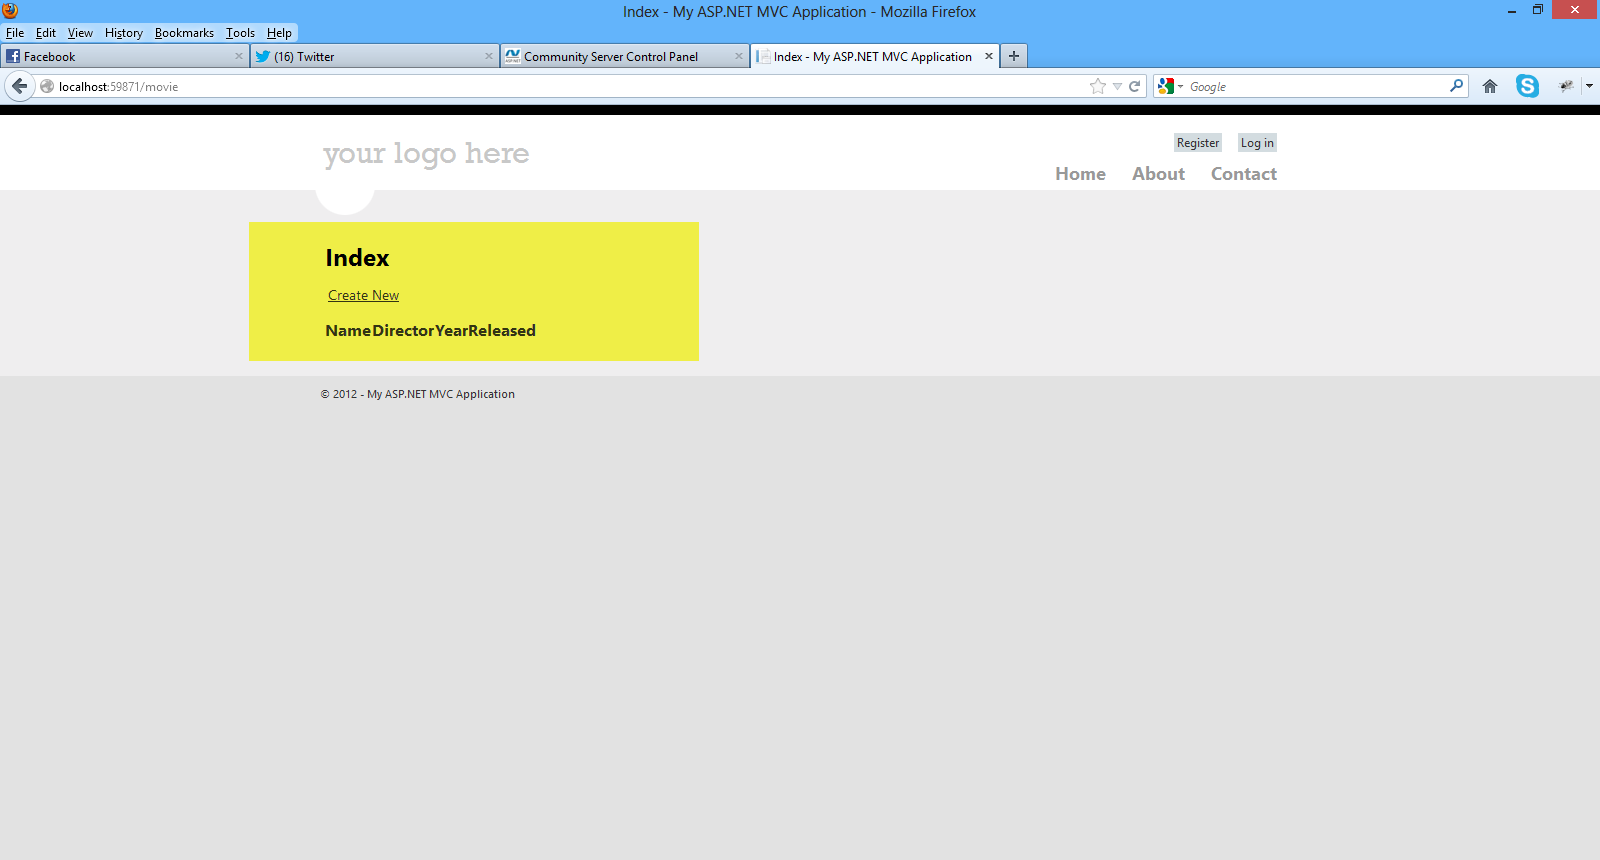
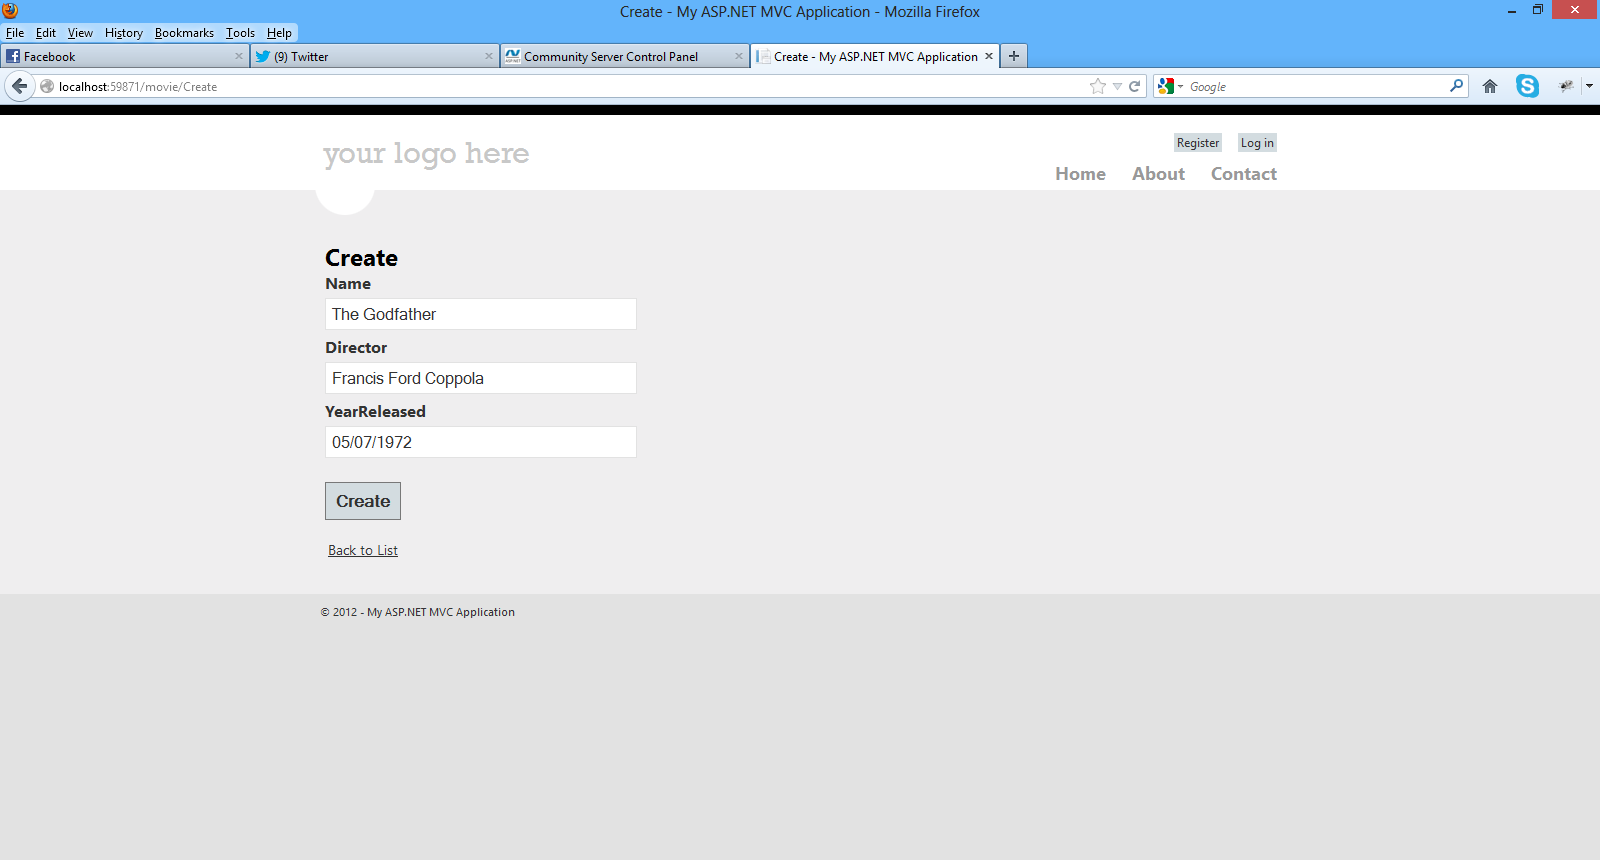
I will create two entries for two of my favorite movies
I click on the Create New link and insert the data.Finally I click Create.The data is saved in the database.
I know exactly what you are thinking right now. You did not create any database.
Entity Framework Code First created the database for us. EF detected that the database connection string provided, pointing to a database didn’t exist, so Code First created the database automatically.
Have a look at the picture below
Make sure you add your entries to the database through the view.
We have created two new records and stored it in the database.Click the Edit,Details and Delete links.We have all this functionality out of the box through the magic of scaffolding.
I urge you to have a look (place breakpoints as well) in the MovieController.cs class file and notice the flow of the execution.
We pass a strongly typed object (Movie) to the various views.
Have a look again in the views inside the Views/Movie folder.
In the Create.cshtml, Delete.cshtml, Details.cshtml, Edit.cshtml, and Index.cshtml Views , at the beginning of these files, you will see this line of code:
@model MovieReviews.Models.Μovie
By adding a @model statement at the top of the view file, we tell the view the type of object that the view should render.
This is how we pass a model through a controller to the appropriate view.I am sure you can clearly see the separation of concerns.
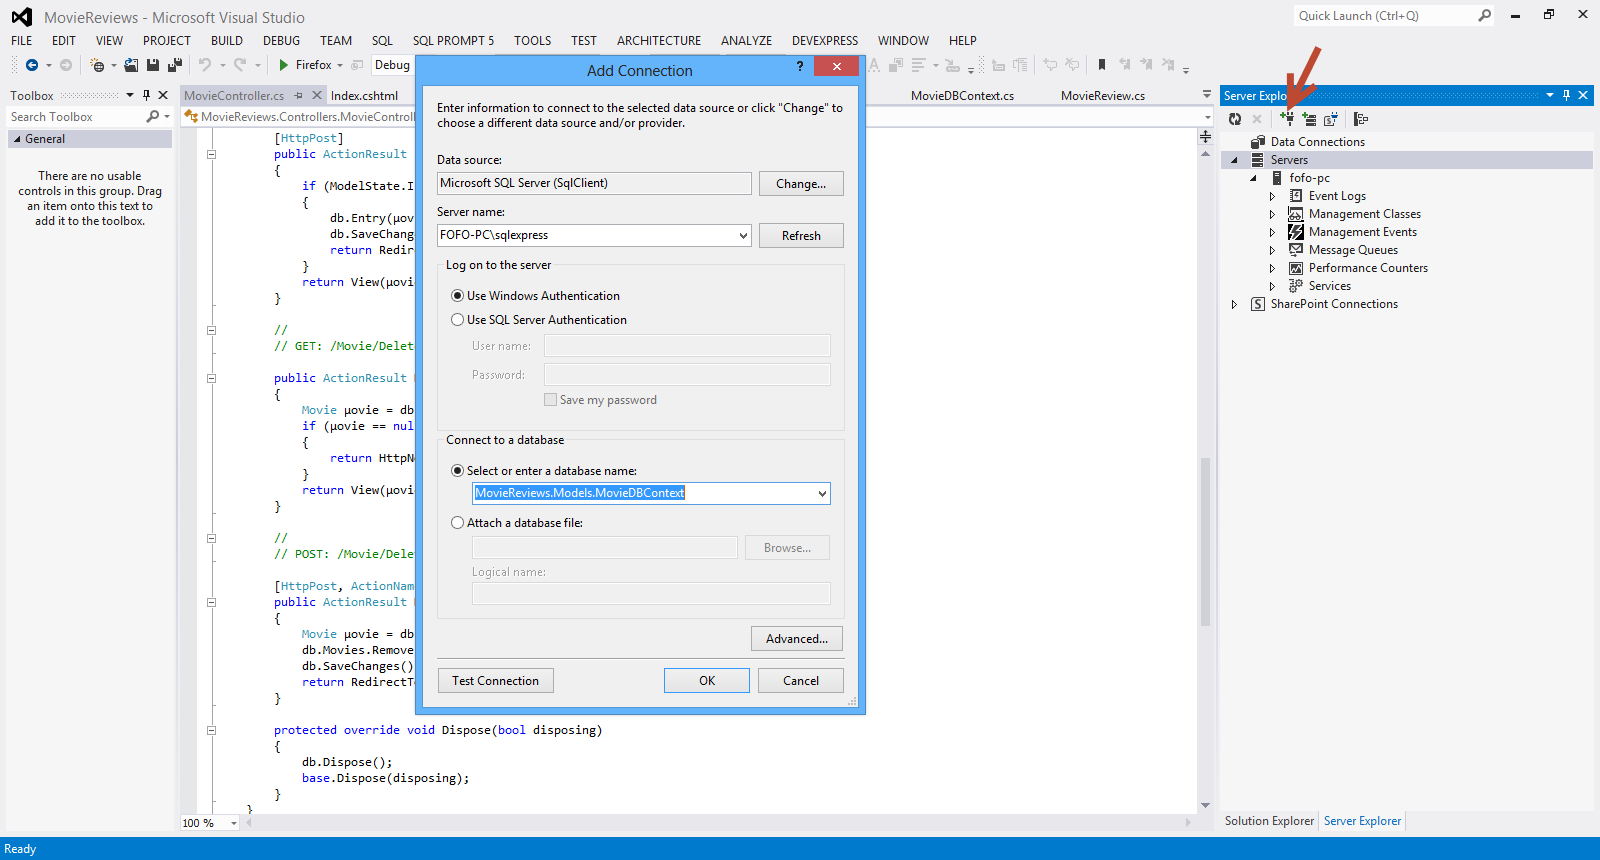
5) Now we can see our database and the data that was saved. We go to View->Server Explorer or Database Explorer and connect to the instance of SQL Server
Have a a look at the picture below to see what I mean.Click OK
Have a look at the picture below to see the database and the tables

Now I can see the data that was inserted through my ASP.Net MVC application to the database.

I am sure you know have a feeling about the application we are about to build. I will explain more about ASP.Net MVC as we go on building the application
Hope it helps!!!