Branching and Merging with TortoiseSVN
For this example I am using Visual Studio 2010, TortoiseSVN 1.6.6, Subversion 1.6.6 and AnkhSVN 2.1.7819.411, so if you are using different versions, some of these screen shots may differ.
This is assuming you have your code checked in to the trunk directory and have a standard SVN structure of trunk, branches and tags. There are a number of developers who prefer to develop solely in a branch and never touch the trunk, but the process is generally the same and you may be on a small team and prefer to work in the trunk and branch occasionally.
There are three steps to successful branching. First you branch, then when you are ready you need to reintegrate any changes that other developers may have made to the trunk in to your branch. Then finally when your branch and the trunk are in sync, you merge it back in to the trunk.
Branch
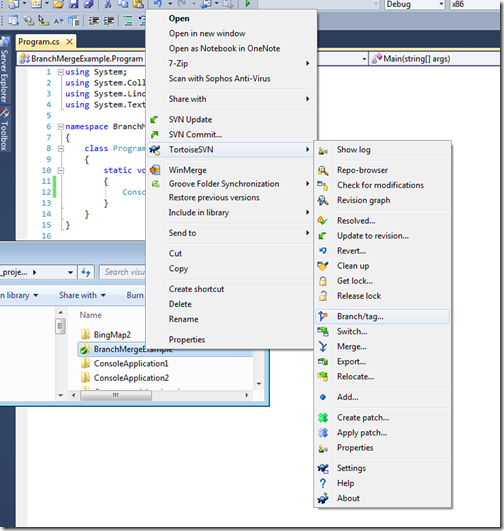
- Right click project root in Windows Explorer > TortoiseSVN > Branch/Tag
- Enter the branch label in the ‘To URL’ box. For example /branches/1.1
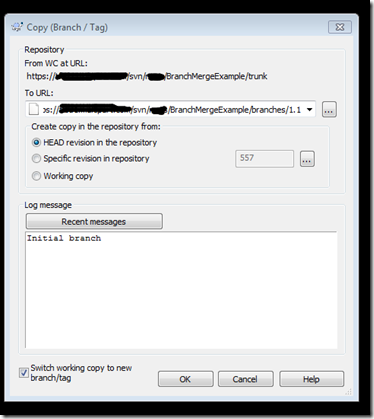
- Choose Head revision
- Check Switch working copy
- Click OK
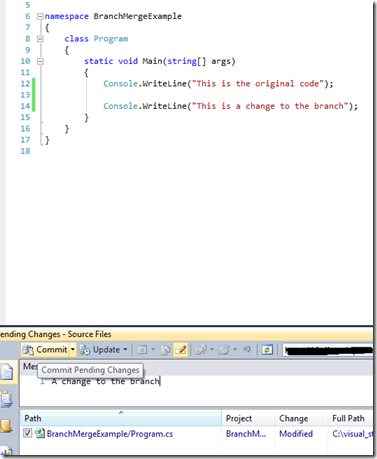
- Make any changes to branch
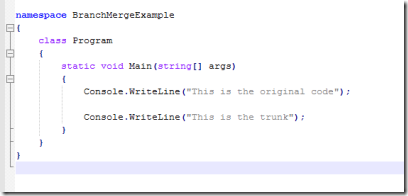
- Make any changes to trunk
- Commit any changes
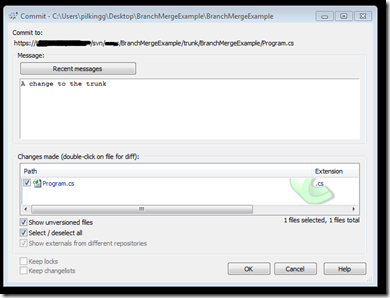
For this example I copied the project to another location prior to branching and made changes to that using Notepad++. Then committed it to SVN, as this directory is mapped to the trunk, that is what gets updated.
Merge Trunk with Branch
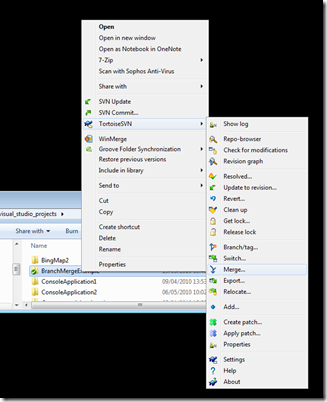
- Right click project root in Windows Explorer > TortoiseSVN > Merge
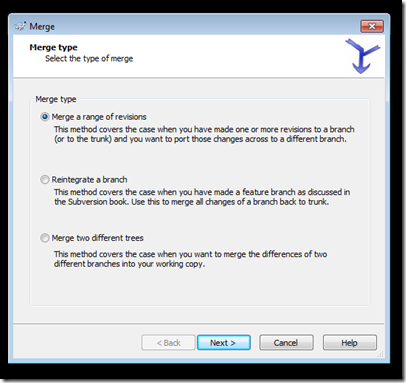
- Choose ‘Merge a range of revisions’
- In ‘URL to merge from’ choose your trunk
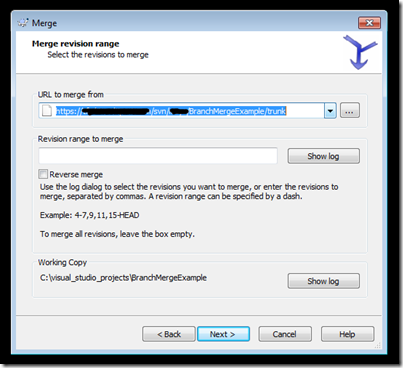
- Click Next, then the ‘test merge’ button. This will highlight any conflicts. Here we have one conflict we will need to resolve because we made a change and checked in to trunk earlier
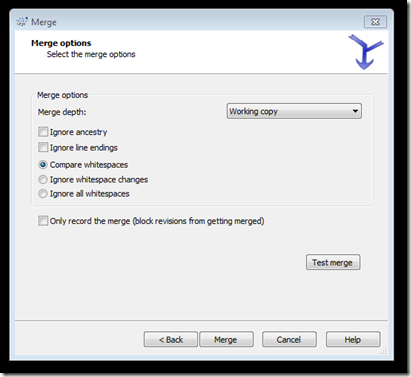
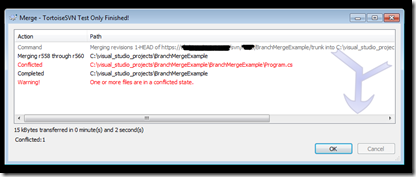
- Click merge. Now we have the opportunity to edit that conflict
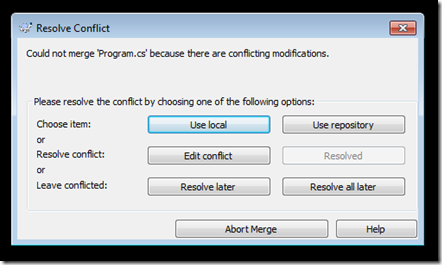
- This will open up TortoiseMerge which will allow us to resolve the issue. In this case I want both changes.
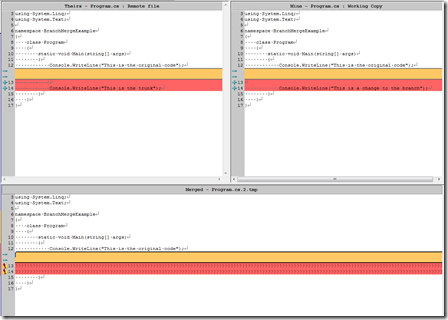
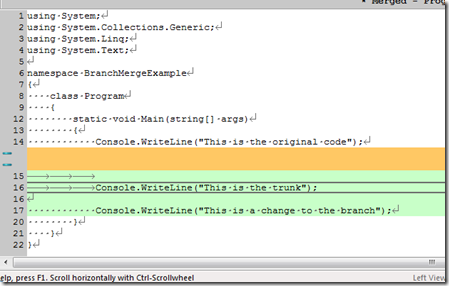
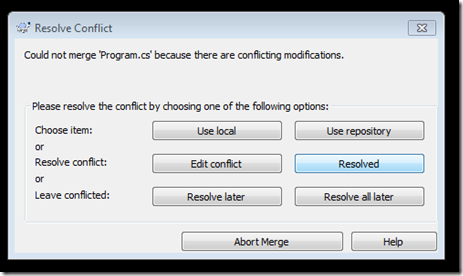
- Perform an Update then Commit
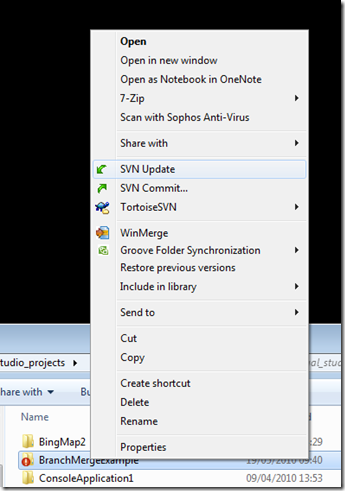
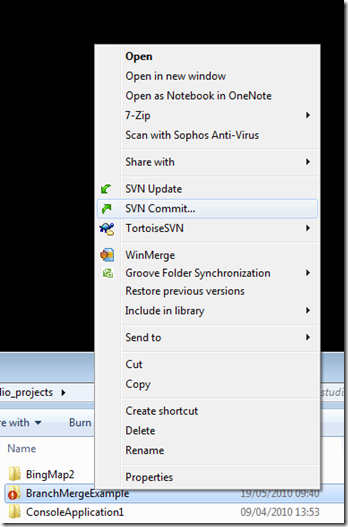
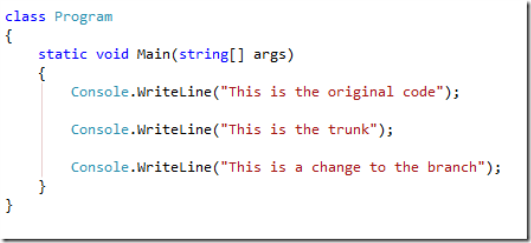
- Reloading in Visual Studio shows we have all changes that have been made to both trunk and branch.
Merge Branch with Trunk
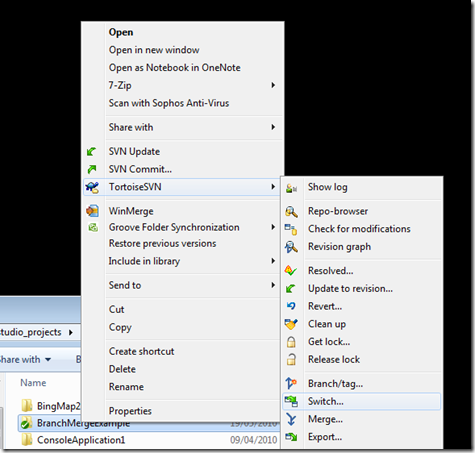
- Switch working copy by right clicking project root in Windows Explorer > TortoiseSVN > switch
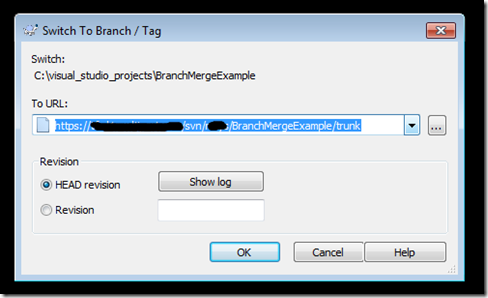
- Switch to the trunk then ok
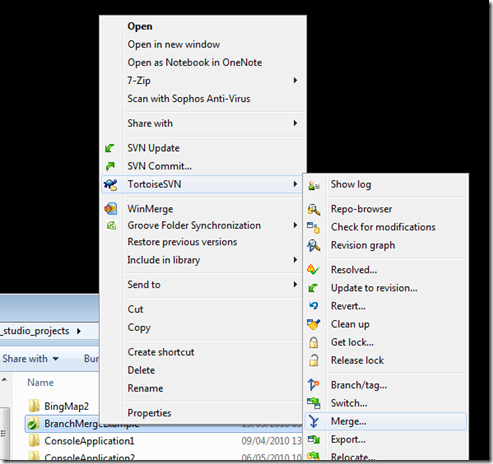
- Right click project root in Windows Explorer > TortoiseSVN > merge
- Choose ‘Reintegrate a branch’
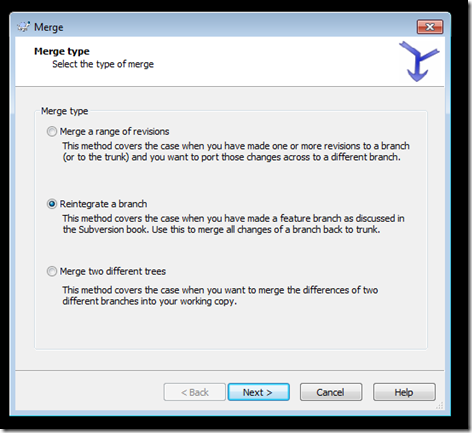
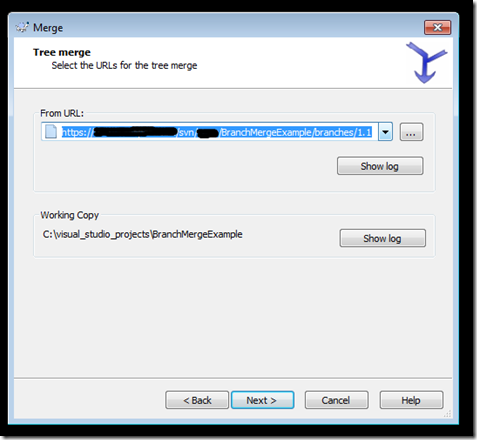
- In ‘From URL’ choose your branch then next
- Click ‘Test merge’, this shouldn’t show any conflicts
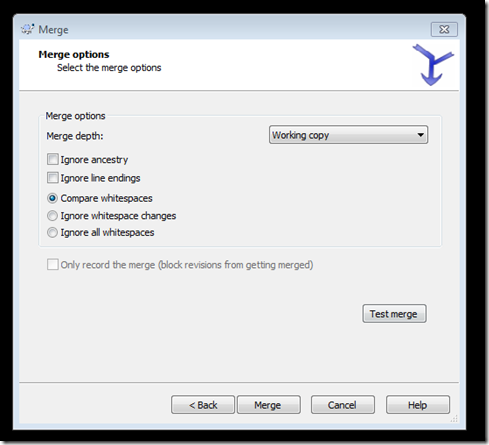
- Click Merge
- Perform Update then Commit
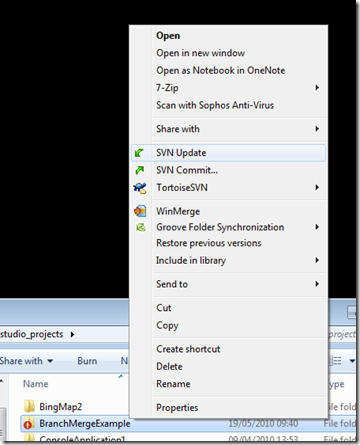
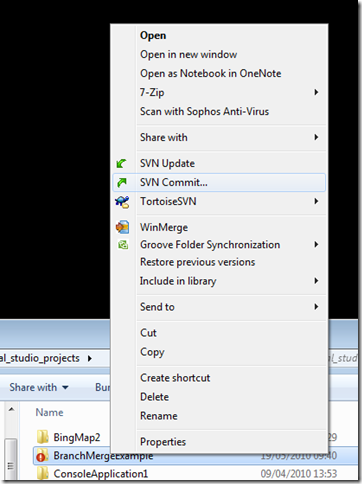
- Open project in Visual Studio, we now have all changes.
So there we have it we are connected back to the trunk and have all the updates merged.