Archives
-
Window Clippings 1.2
Update: A new version is available here: Window Clippings
-
Windows Vista for Developers – Part 5 – Getting Started With Server Core
I thought I’d take a little break from Windows Vista and talk about its big brother Windows Server and specifically Windows Server Core. Server Core is a new flavor of the upcoming release of Windows Server (which shares a large part of its code base with Windows Vista), that is intended to be a low-maintenance server environment used to play a single well-defined role such as that of a DNS server or file server where the presence of web browsers, calculators and other unnecessary applications only add to the overhead of maintaining and patching the server and add little value.
In this part 5 of the Windows Vista for Developers series, we’re taking a look at Windows Server Core. Unlike previous articles in this series, this article is light on code examples and is really intended to get you up and running with this new operating system. Future articles in this series will dig into specific technologies provided by Windows Vista and Window Server. I also noticed some healthy debate going on about what developers can expect from this new platform so I thought I would try and shed some light on the matter and perhaps put things into perspective as best I can. But first we need to get Server Core up and running.
The installation of Server Core is deceptively simple. The only thing you’re asked to do is indicate on which drive or partition you would like to install it. The installation is also relatively quick in comparison to Windows Vista. This is mainly because there is just so much less being installed and configured. The welcome screen looks like this (click to enlarge):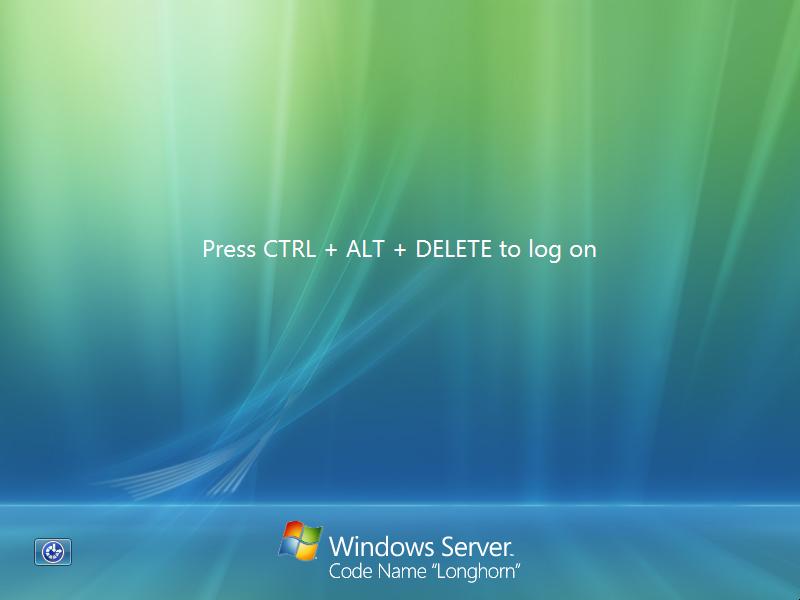
Since this is the first time you’re logging in, the system will not present any existing user account and you’re left wondering how you can create a user account without first logging in or whether one already exists that you can make use of. Fortunately the good old “Administrator” account has already been created without a password so you can use that to gain access to the system. Presumably some documentation will be provided for the recent Linux converts who may not think to try what might be your first guess as a veteran Windows user.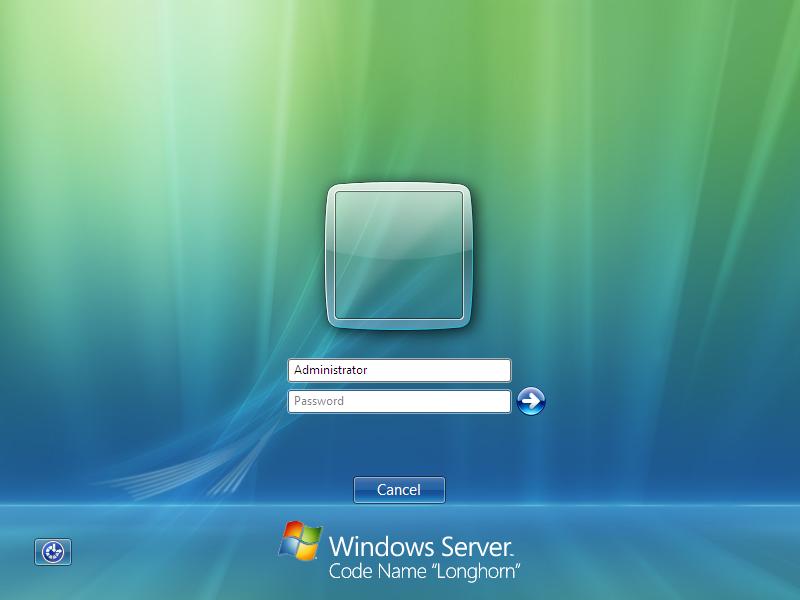
Since this is the first time that you have logged in with the account, Windows will take a few moments to create the user profile. Once completed, you are presented with your new shell: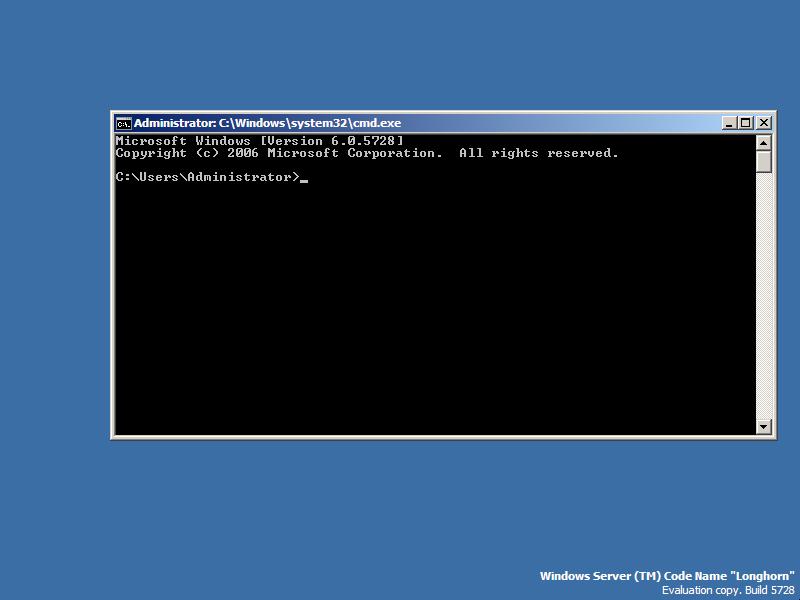
This is where it becomes potentially tricky. If you’re a “power user” when it comes to the command prompt then you should be fine but if you’ve traditionally done all your administration using Windows Explorer or with various MMC snap-ins then you’re in for a shock since neither are available to lend a helping hand, at least not initially
Your first goal should be to get the system configured such that you can easily connect to it remotely for management. To find out the computer’s seemingly random name type the hostname command. Your first command line challenge is renaming the computer.
Although Server Core has almost no GUI tools, it has all the management infrastructure of regular versions of Windows. This means that virtually all of the command line tools are there, but more importantly the entire remote management infrastructure is present. This includes Windows Management Instrumentation (WMI) as well as support for RPC, which is required by many Windows SDK functions and interfaces as well as many of Windows GUI management tools. It also includes Windows Remote Management (WinRM) which is an implementation of WS-Management.
With the knowledge that WMI is present, we can use the WMI command line tool to rename the computer. Fortunately the Win32_ComputerSystem class has a Rename method so renaming the computer is as simple as typing the following command:
wmic ComputerSystem where Name="%COMPUTERNAME%" call Rename Name="NewName"
The wmic command starts with the class name which it expands to get the full class name. Although there happens to be only one instance of the ComputerSystem class, WMI still requires that you identify it and that is what the where clause is for. The WMI query language is very much like SQL. The COMPUTERNAME environment variable is just a simple way of returning the existing computer name without having to try and type the name generated by Windows Server. Finally, the Rename method is called and a value is provided by the Name parameter. If all goes well, the output should be something like this:
Executing (\\LH-Z6KDIWK41SMN\ROOT\CIMV2:Win32_ComputerSystem.Name="LH-Z6KDIWK41SMN")->Rename()
Method execution successful.
Out Parameters:
instance of __PARAMETERS
{
ReturnValue = 0;
};
If the method fails, the ReturnValue will have a non-zero value. If ReturnValue is zero then the operation succeeded and the hostname command will return the new name. If you don’t have the necessary permissions to rename the computer then the ReturnValue will be 5. Once you’ve change the computer name you need to restart the computer for it to take effect. This is achieved with the following command:
shutdown /r
You can also rename your user account as follows:
wmic UserAccount where Name="%USERNAME%" call Rename Name="NewName"
This makes use of the Win32_UserAccount class. You can get a fairly complete list of WMI classes here. -
Townhouse for Sale
We’re in the process of selling our home in Langley, British Columbia and I thought I should put the word out on my blog. If you’re thinking of moving to BC and want a spacious townhouse in beautiful Walnut Grove (Langley) then you should take a look at this.
-
Security Kicks
James Kovacs just announced the launch of SecurityKicks, a new site for collecting and ranking security articles. Check it out!