Improving Page Download Time With Image Compression
by Nannette Thacker
It would be rare for a developer to work on a website without having to do something with the images. And if you're a one-person team, you'll likely have to do the image compression yourself.
To show the importance of image optimization, I took a page with 64 HTML images and ran it through a page load test. I then optimized the images and ran it through the test again. For my testing, I used the free Web Page Analyzer at WebSiteOptimization.com.
| Optimization: | Before | After |
| Image Size in Bytes | 5814746 | 3758008 |
| 56K Download In Seconds | 1189.21 | 779.31 |
| ISDN 128K Download In Seconds | 374.19 | 248.65 |
| T1 Download In Seconds | 45.63 | 34.73 |
Below is the technique I used to optimize the images.
Batch Image Optimization Using Adobe Photoshop
With Adobe Photoshop, you can batch compress your images for the web. To do this, we must first open an image, in Photoshop, and record as we save the file with compression. Then we can use the Automate / Batch process to automatically process all of our files with the same amount of compression.
Open Photoshop. Then select to open one of your files that you desire to have compressed: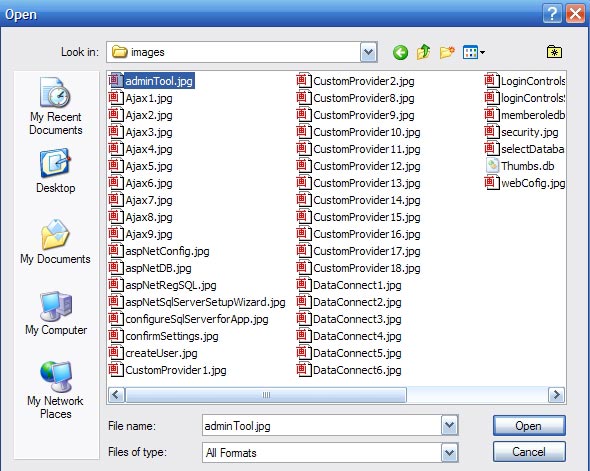
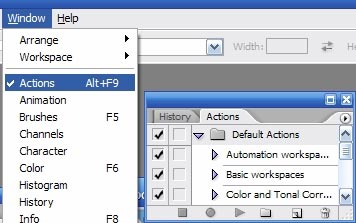
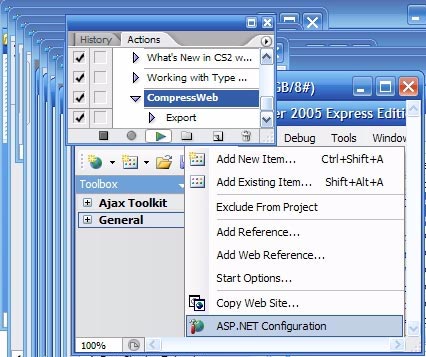
Then open the Actions Pane by selecting Window > Actions:
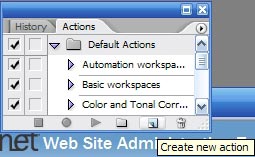
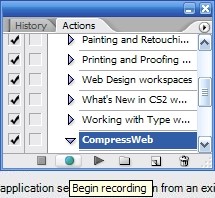
Select the "Create New Action" icon to record a new action:
Name your New Action. I've named mine "CompressWeb" as shown below:
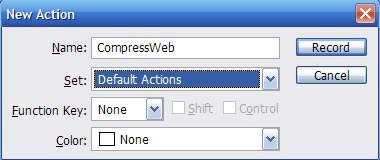
After naming your Action, select the "Begin Recording" icon.
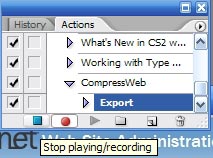
Since your image is already opened, simply select the File / Save for Web menu item to bring up the dialog box to save the image. In the below screenshot, you'll see we've saved the file type as "JPG" and the quality at "50." Then select the Save button. I saved my compressed image into a new directory I had previously created called "Resized."

In the Actions pane, select the "Stop playing/recording" icon.
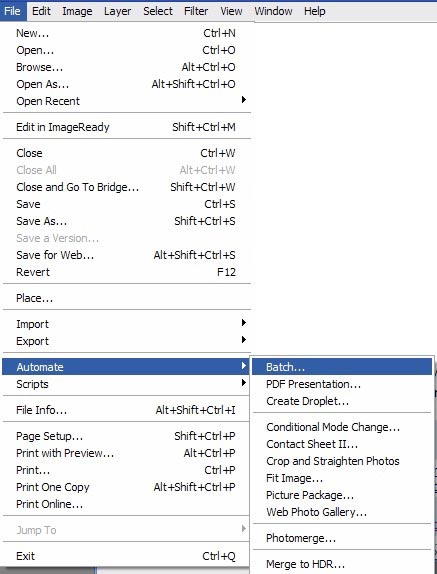
Now we are ready to begin batch compression of our directory. From the File menu, select the Automate > Batch... menu items.
The Batch dialog box will appear. Select your Action as "CompressWeb." Use the Source drop down to select on which files to perform the Action. I selected "Folder." Select the "Choose..." button. Optionally, you may also select to "Include All Subfolders."

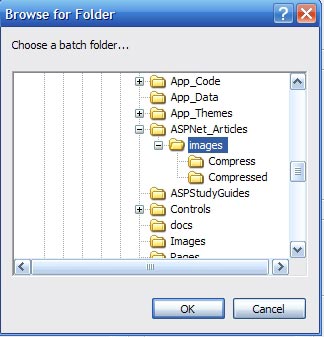
The "Browse for Folder" dialog box will open, allowing you to "Choose a batch folder..." for the action. Select "OK."
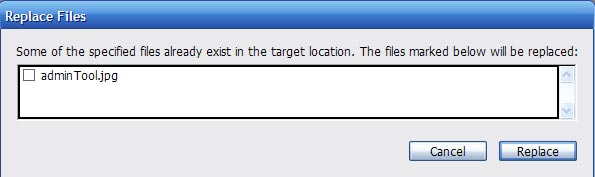
Our first test file used for setup is found in the target location, so a "Replace Files" dialog box will appear. You can leave it selected (it will simply perform the compression on the original file again), or deselect the box and select "Replace."
Upon selecting "Replace," Photoshop will automatically open all of the files in the directory and perform the compression on each, and save them.
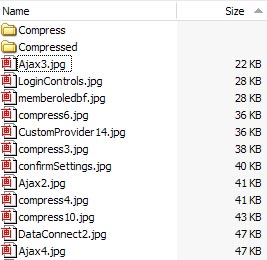
When you are done, you can view the file sizes for the newly compressed directory versus your original directory and see the the compressions were performed successfully.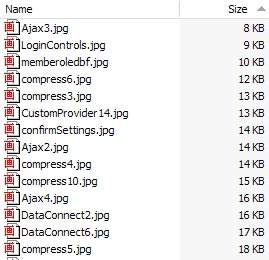
When done, select the File > Close All to close all the files. Photoshop wil ask you if you wish to "Save changes... before closing?" Select "No" for each one since you have already saved the file with the desired compression.

The above steps work successfully with "Destination" = "None" if you create your destination folder in advance, and save your original sample file to that destination folder during recording. However, the Batch screen provides other options to select "Folder" for your "Destination" and "Choose" the folder. This also allows Photoshop to Batch rename your files during the Action.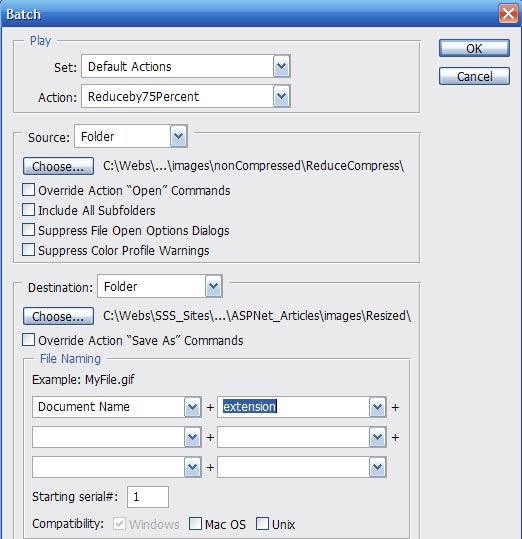
May your dreams be in ASP.net!
Nannette Thacker