Building a simple animated menu with Silverlight 2

In this two part exercise, we’ll use MS Expression Blend 2.5 - March Preview and Visual Studio 2008 with Silverlight Tools Beta 1, in part one, we’ll use Blend to create the XAML for our menu and in part two we’ll use VS2008 to add the interactive elements.
Update: I have updated the source code to work with Beta 2 and moved it to a different location, download the code here: http://www.olakarlsson.com/Downloads.aspx
Part 1 – Creating the XAML in MS Expression Blend 2.5 - March Preview
Even though this part will mainly be done in Blend, we start by opening Visual Studio and creating a new project, New Project – Visual C# - Silverlight Application, I named it Silverlight2MenuDemo.
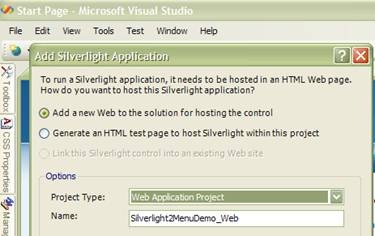
This will bring up the following dialogue, where you can chouse if you want to host your Silverlight in a simple HTML page or if you want Visual Studio to create a Web site project or a web application project to host the Silverlight. I chose to create a Web Application project.
|
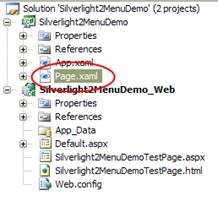
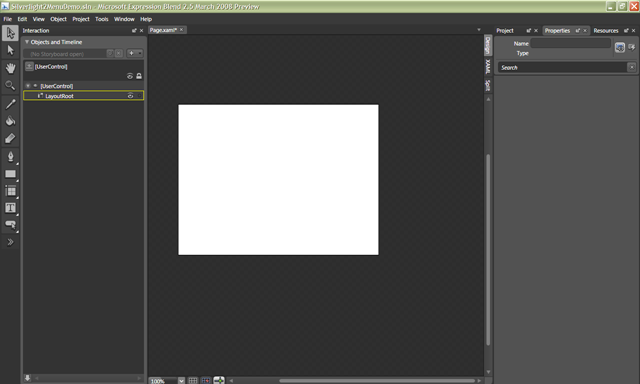
Next step is to move into Blend, once your solution is loaded, you will have a Solution Explorer view similar to the one on the right in. As we want to use Blend for at least our initial XAML design, the next step is to right click the page.xaml file and select “Open in Expression Blend”. This will open up Expression Blend into the view below.
|
|
|
Note when working with the tool box in Blend, as Blend is based on a designer style application, it uses a model where the same button can hold several options and if you’re not used to this it might be somewhat confusing.
If a button has multiple options is indicated by a little arrow symbol and the options are accessed by clicking the button and holding the mousebutton down. |
|
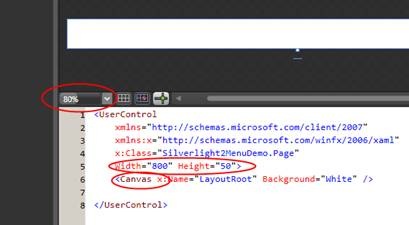
To start with I changed the grid to a canvas and set the width and height, in this case 800 wide by 50 high and background White, no real reason for this except me being most comfortable working with the canvas layout model. If you want to view the whole canvas adjust the zoom.
Ok, so there’s our background canvas, now as we’re building a menu, we need some menu options.
To do this we start by adding a TextBlock, do this by selecting the TextBox tool and double click it.
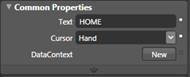
To be able to later access the canvas programmatically it needs to have a x:Name. You can either do this with Blend by right clicking the TextBlock object in the Objects and Timelines” view and choosing Rename. Or just add the x:Name property in the code view. In this case I decided to call it MenuItemHome.
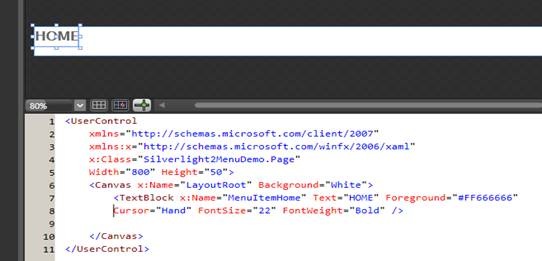
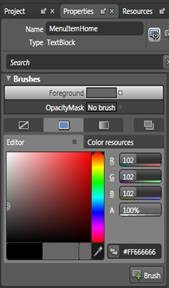
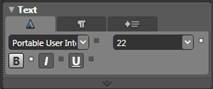
I then used the Properties toolbox to set the Foreground, Font size etc.
I also use the properties settings in Blend to change the cursor into a hand when hovering over the TextBox.
 |
 |
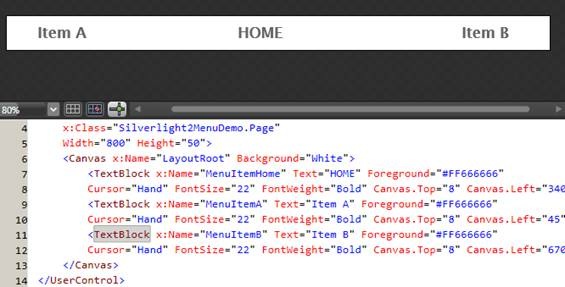
Once that’s done, repeat the procedure and create two more menu items and then arrange them on the canvas, I’ve decided to put my Home in the middle (don’t worry too much about the positioning, we’ll change it later).
Next step is to create the slider which will glide along and indicate the chosen option etc.
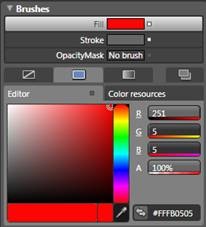
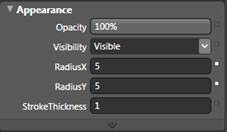
As our slider we’ll use a rectangle, so add a rectangle to the canvas by double clicking the rectangle tool. I named it mySlider, and I again use the properties box to set the appearance of the object.
|
|
|
Which will give something like the following:

![]()
That’s the end of part one, in part two we’ll dive into Visual Studio and actually get it to do things.
The source code for the project so far can be found here and part 2 shouldn't be too far away.
Update: I have updated the source code to work with Beta 2 and moved it to a different location, download the code here: http://www.olakarlsson.com/Downloads.aspx
Hope you enjoyed the article, any constructive feedback is more than welcome as this is my first attempt at this sort of thing.
I apologise for the somewhat bad quality of the screen shots, I'm still getting the hang of this whole blogging business. :)