Creating and Deploying Windows Azure Web Sites with Microsoft WebMatrix 3
Microsoft WebMatrix is a free, lightweight and cloud-connected web development tool which can be used for building and deploying Windows Azure Web Sites. Microsoft WebMatrix supports ASP.NET, Node.js and PHP. A while ago I have written a post Building and Deploying Windows Azure Web Site with Node.js and MongoDB by using Microsoft WebMatrix, where I have demonstrated how we can develop and deploy Web Sites to Windows Azure. The newly released WebMatrix 3 is an excellent IDE for building and deploying Web Sites to Windows Azure. The WebMatrix 3 lets the developers to create Windows Azure Web Sites from the IDE itself and can easily publish to Windows Azure, without using Windows Azure management portal. You can add Windows Azure accounts to WebMatrix 3 and can easily create and deploy Windows Azure Web Sites using WebMatrix 3. WebMatrix 3 provides better supports for working with Windows Azure and source control integration with Git and TFS. The source control integration is a new feature to WebMatrix.
Download Microsoft WebMatrix 3
The new version of Microsoft WebMatrix can download from http://www.microsoft.com/web/webmatrix/next/
Add Microsoft Account to WebMatrix 3
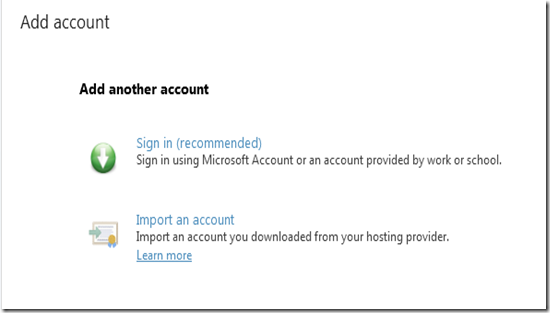
We can add an Account including a Microsoft Account to WebMatrix 3, which can be used for managing web sites with Windows Azure. To add an account to WebMatrix, click the Sign in button or Add Account from the top right corner of WebMatrix Quick Start window. This will prompt the following dialog where we can use either sign in using a Microsoft account for Windows Azure or we can import an account, we downloaded from a hosting provider. We can use Windows Azure Management credentials (.publishsettings file) to import an account.
I have chosen Sign in using Microsoft Account where we can use our Windows Azure account credentials. Sign in using Windows Azure account will import the Windows Azure account management credentials to your WebMatrix IDE so that you can easily create and publish web sites to Windows Azure.
Create a Windows Azure Web Site in WebMatrix 3
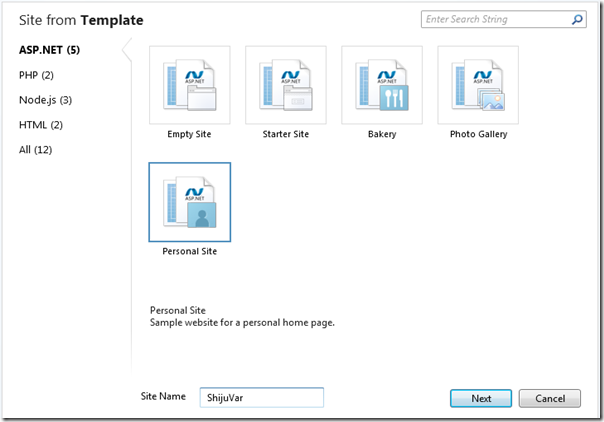
Let’s create a sample web site in WebMatrix from a Site template. For this sample, let’s create a site from Site template as shown in the following picture.
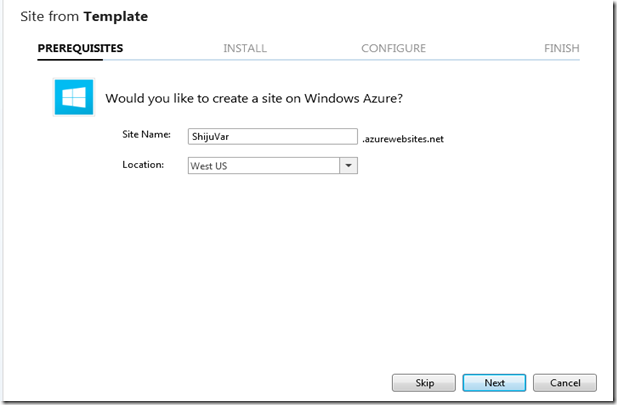
This will prompt you to create a Windows Azure Web Site where you can specify the web site name and the Windows Azure data center region as shown in the following picture. This wizard will create a web site in Windows Azure
Publish Web Sites to Windows Azure
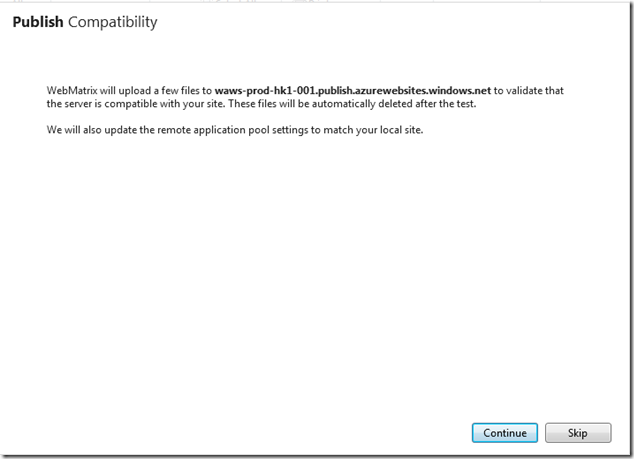
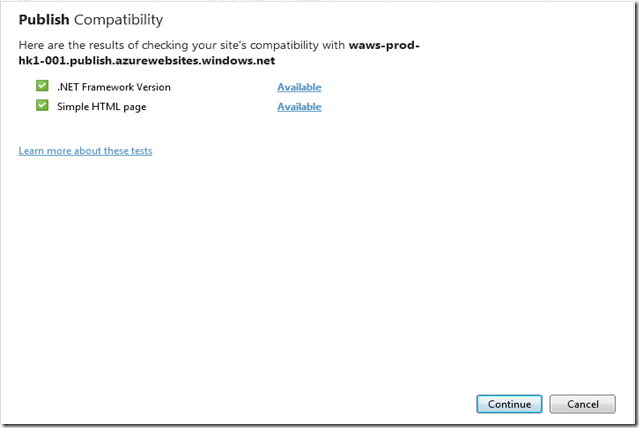
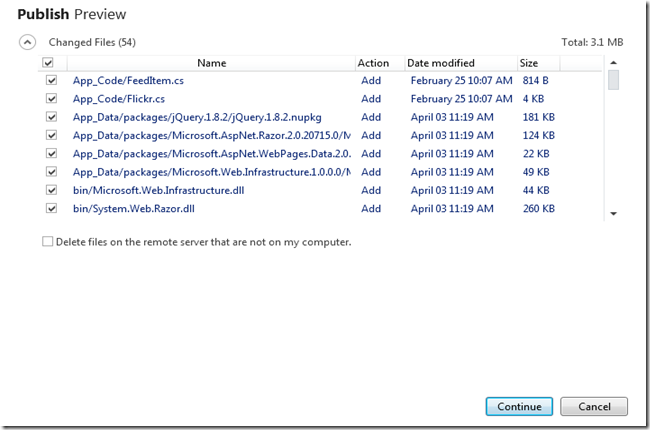
We can easily publish the web site contents by just clicking the publish button of WebMatrix whenever we want publish our contents. The publish option will prompt the publish compatibility for the publishing of first time and finally preview the contents to be uploaded to Windows Azure. For the later uploads, it will just prompt the Publish Preview windows. The following screenshots shows Publish Compatibility and Publish Preview windows.
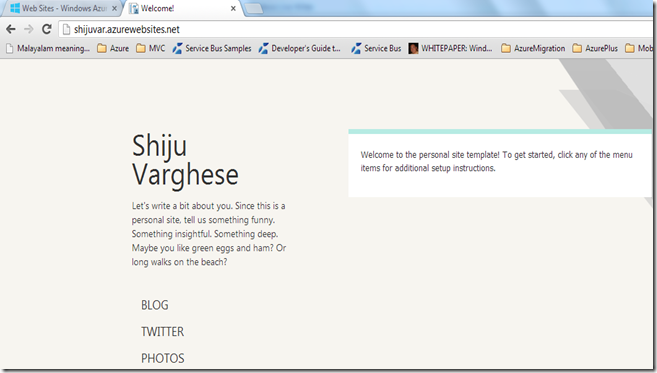
The following screenshot shows that the Windows Azure web site is running successfully after the publish web site to Windows Azure.
