How to Install New Visual Studio 2017 Workloads after Installation
With the improvements in Visual Studio 2017, the installation process can be much more compact and streamlined, allowing you to choose which “workloads” you want to install. But what happens when you need a workload that you don’t have installed? Well with a little digging I was able to determine the process to do so, check out the steps listed below.
- Shut down any running Visual Studio 2017 instances
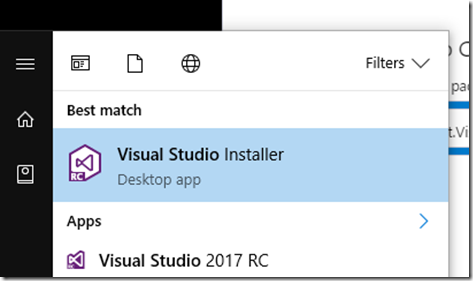
- Click on your Start Menu and Type “Visual Studio Installer”

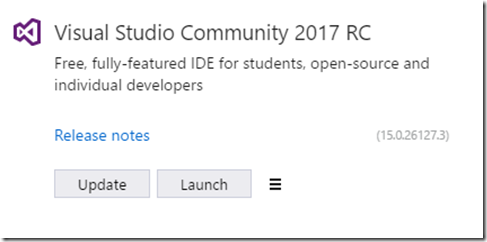
- Once you have the installer open, if you see an “Update” option, go ahead and update Visual Studio 2017 before proceeding

- After you have VS up to date, you should see a Modify option available

- Once you click Modify you’ll be presented with the Workloads selection option in which you can choose your necessary workloads.

Any time you need to add ore remove workloads, you can always get back to this screen.
With the Release Candidate for Visual Studio 2017 Community I did run into one problem where the “install” file ended up being lost. If that’s the case just download the vs_community.exe again from Microsoft and run that, it’ll restore what you need and get you back to the appropriate process.