Creating a windows container for a ASP.Net MVC 5 project
In this blog post I will show how we can run our ASP.Net ;VC 5 Web project in a Windows Container using docker-compose.
Note: Windows Container only works for Windows 10 Anniversary Edition (Professional or Enterprise).and Windows Server 2016.
First we need to download and install Docker for Windows. We can download the installer from here https://docs.docker.com/docker-for-windows/
After the docker for windows is installed, we need to switch the docker mode to Windows Container. This is done by Right clicking on the Docker icon in the "System Tray" on the taskbar and select "Switch to Windows Containers…".
To make sure docker works, open a Command Prompt and write "docker version". It should display the version of docker that is running.
Note: The code in this blog post is based on the version "1.13.0" and API version "1.25".
In Visual Studio 2015 we create an Asp.Net Web Application (.NET Framework) project using MVC.
We then need to add a Dockerfile to our root folder of our project.
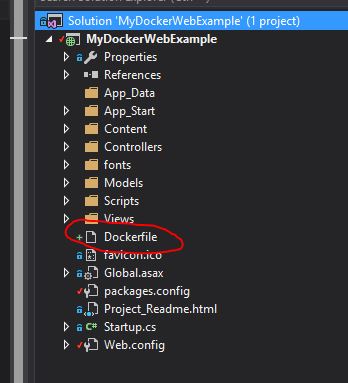
A Dockerfile is used to build images, you can read more about it here: https://docs.docker.com/engine/reference/builder/
We are going to use the Docker image "microsoft/aspnet" (https://hub.docker.com/r/microsoft/aspnet/)
We then add the following to our Dockerfile:
FROM microsoft/aspnetARG site_root=.ADD ${site_root} /inetpub/wwwroot
FROM specifies the base image to be used, "microsoft/aspnet", the ADD command is used to add our site content to the image "/inetpub/wwwroot" folder.
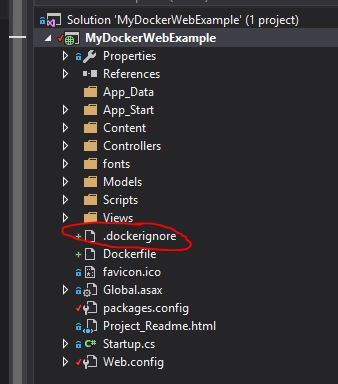
We then add a .dockerignore file to our root folder of our project, the .dockerignore file will make sure some files are ignored by the ADD command.
Here is an example of a .dockerignore file:
docker-compose.ymlDockerfile**/*.cs
Note: In this example I just make the deployment easy by adding all files from the root folder to the image, so the .dockerignore file is used to ignore files we don’t want to add.
You can read more about the .dockerignore file here https://docs.docker.com/engine/reference/builder/#/dockerignore-file
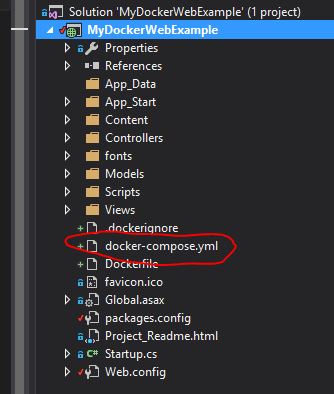
Next step is to add a .yml file used by docker-compose. You can read more about docker-compose here https://docs.docker.com/compose/overview/
We add a file with the name docker-compose.yml to the root folder of our project.
We then add the following to the file:
version: '3'services: web: image: user/mydockerwebexample:${TAG} build: context: . dockerfile: Dockerfile args: site_root: . ports: - "8000:80"networks: default: external: name: nat
The image option for a service in the docker-compose.yml file can be used to specify a name of the image, I use a variable called TAG to be able to tag an image.
image: user/mydockerwebexample:${TAG}
Note: When using "docker-compose build" to build our image from a Command Prompt, we need to set the TAG variable used in the .yml file, if we don’t, we will get an error. More about this later.
We then add a "build.bat" file to our root folder to make things easier than using separate command in a Command Prompt to compose and start our container.
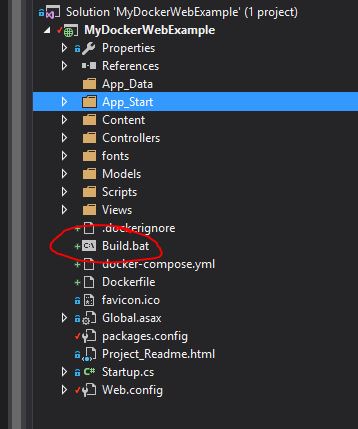
Add the following to the "build.bat" file:
SET TAG=v1docker-compose build --force-rmdocker-compose up -dfor /f "delims=" %%A in ('docker inspect -f "{{ .NetworkSettings.Networks.nat.IPAddress }}" mydockerwebexample_web_1') do set "myContainerIp=%%A"start microsoft-edge:http://%myContainerIp%REM start "" "c:\program files (x86)\google\chrome\application\chrome.exe" --new-window %myContainerIp%pausedocker-compose down
Notice that "SET TAG" at the top of the "build.bat" file. Because our docker-compose.yml file uses a ${TAG} variable, we need to specify it in our .bat file.
Note: At the time writing this blog post we can’t use localhost, we need to get the IP of our container. We can use the command "docker inspect -f "{{ .NetworkSettings.Networks.nat.IPAddress }}" <porjectname>_web_1" to get the IP.
The "for" statement is used to get the output from a command and add the output to a variable. In this case we take the running containters IP address and add the value to the myContainerIp variable.
The "start" command will start Microsoft Edge and navigate to the container’s IP address. (I also added a line of code to the "build.bat" file to open Chrome).
Now build the web project and then run the "build.bat" file in a Command Prompt (Make sure you have "navigated" to the root folder of your Web project in the Command Prompt before running the "build.bat" file). If everything works, an image is created, a container is started and Edge or Chrome will navigate to the containers IP address and the Web Application start page should be displayed. DONE!
If you want to know when I publish a blog post, please feel free to follow me on twitter: @fredrikn