Wishlist
Hello everybody! It’s been a looong while since my last post and a lot has happened since then. I switched from working on ASP.NET Ajax to ASP.NET WebPages (using the “Razor” syntax), and until recently, WebMatrix and ASP.NET WebPages haven’t been public, so I couldn’t blog about the awesome feature set that we’ve been building out. There are numerous posts on the release, the most prominent of which is on ScottGu’s Blog. Another good overview for WebMatrix can be found on the Coding QA Blog.
So what have I been up to? Once of the things that Coding QA talks about in Episode 33 is our team structure. Starting in January, I joined the Product Presence pillar and started contributing to product design and testing from a customer perspective. One of the things that we did as part of this highly effective process was build an application, the Wishlist. The idea is that it allows users to create lists of items they would like others to purchase for them. We got to the point where we had enough feature coverage that we decided it would make sense to ship it as a ASP.NET WebPages template. In this post we’ll discuss getting started with the template from a user perspective and run through a high-level feature overview, touching on places where we’ve used ASP.NET WebPages helpers and functionality.
Getting Started
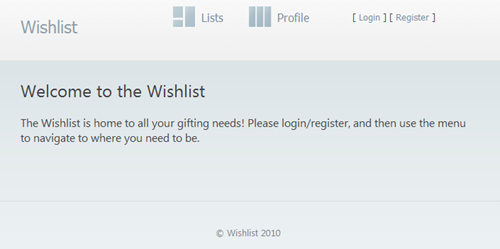
You can get started by downloading the Wishlist template. Assuming you’ve already installed WebMatrix, you can extract the zip and then open up the site “From Folder” in WebMatrix. Then, you’ll be tasked with changing some initial settings in _Start.cshtml to set up ReCaptcha and email, so that registration will work with a ReCaptcha, and email will be sent for user confirmation, and in the case of a user forgetting their password. You can register for ReCaptcha public and private keys at www.recaptcha.net. As for email, the configuration allows you to set the SMTP server, port, and whether or not you need to use SSL. By default, the template is set up to work with Hotmail if you simply enter UserName, From, and Password. UserName/From is going to be your Hotmail e-mail address, and password is going to be your password. I recommend setting these parameters so you get a good feel for the end-to-end functionality of the site as originally intended :)
Tip: If you don’t want to set up email or ReCaptcha, you can still use the template normally…mail will not be sent and you will be able to use the links directly in the page
Registration
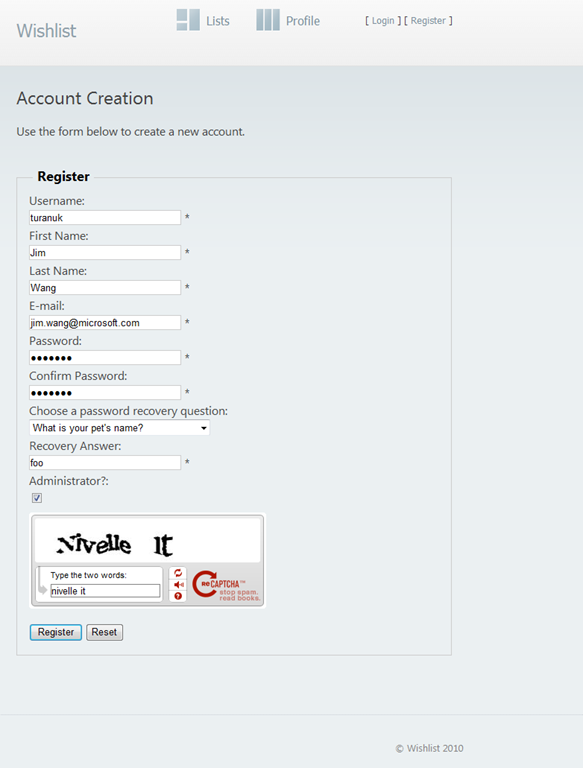
Now that you’ve set up Mail and ReCaptcha, you can Register your user account. By default, Wishlist takes advantage of the user confirmation feature in SimpleMembership (Matthew Osborn has a detailed post about SimpleMembership here), and will send mail to the user asking them to confirm the account before they can login.
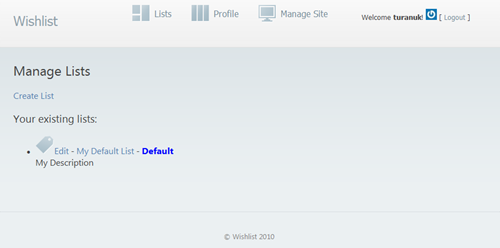
After you have registered and confirmed your account, you can login (there’s also a Forgot Password feature that takes advantage of the recovery question and sends an email which I will cover in a future post) where you will be greeted with this UI:
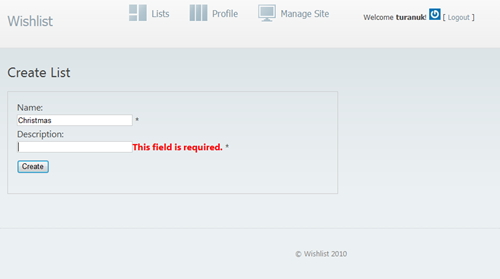
I’m not going to go into all feature areas in extreme detail, but one thing you will notice is that you can edit properties in your Profile. This is what you would expect, it allows you to change your email and your password. Let’s go ahead and create a list by clicking on “Create List”. I’m going to call it Christmas, with a blank description. You’ll notice that jQuery validate is enabled, and I will get a client side validation error before I go back to the server:
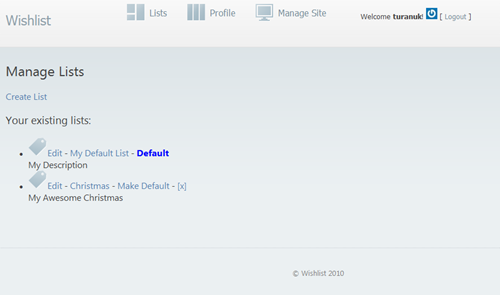
Now I can create the list. So now there are two lists:
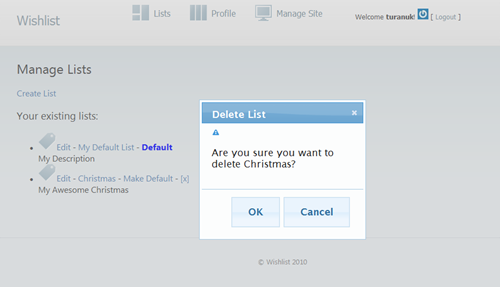
The UI allows you to make a list default, and also there is an [x] to delete a list. If I click on this, I get presented with a jQuery dialog, which works as you would expect. The “Default” feature allows me to navigate to http://localhost/wishlist/displaylist/username and have that list displayed. For details on how this works, see DisplayList.cshtml.
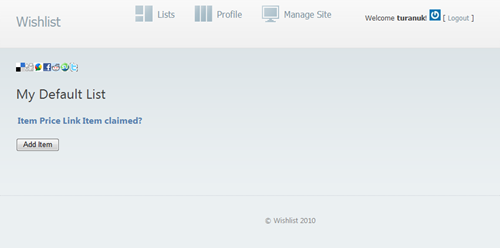
Note that I can also click on the “Edit” button or icon and modify the name or description of my list. If I click on the name of the list, I will be presented with this UI:
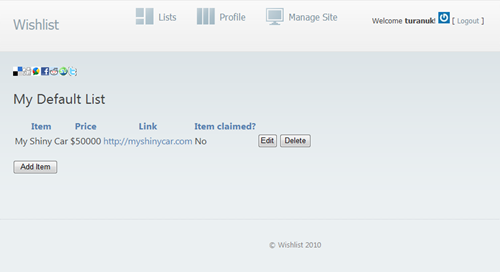
You’ll notice that this allows you to add items to the list, as you would expect. There’s also a LinkShare (a helper available in ASP.NET WebPages), which allows me to easily share out the link to my list via Digg, Delicious, Buzz, Facebook, Reddit, StumbleUpon, or Twitter. Here’s what the page looks like after I’ve added my awesome car to it:
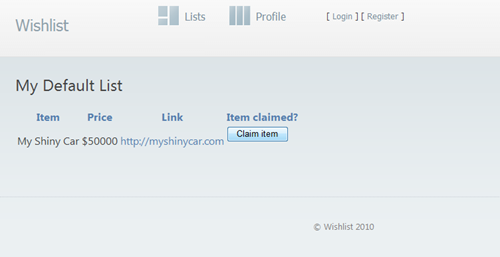
You’ll notice that there is a “Claimed” field. You can change the value of this field via the “Edit” button, or if you log out and navigate to the same page again, you can claim the item, as this screenshot shows:
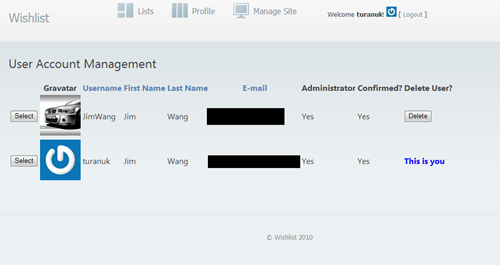
This page, as well as the “Manage Site” page we’ll look at later, make use of the WebGrid helper to display information from the database, which enables sorting and paging functionality out of the box. The last page we’ll take a look at is the “Manage Site” page (UserManagement.cshtml). I’ve added another user, which has an email with an associated Gravatar. You can see that this page lets me perform administration tasks for my users. It also shows me if they have been confirmed or not, and has Ajax functionality enabled for the WebGrid so you can perform operations without causing a full postback to the server. You can also click on selection to update a user's first and last name, email, and toggle whether or not they are an administrator.
This has been a very brief high-level overview of the Wishlist site. I plan to do more posts in the future where I look at particular pages in detail. Please post your feedback on the WebMatrix forums or comment here for any issues or suggestions you have. Thanks!
