Window Clippings 2.1: How to Select Multiple Windows
In my last “how to” article I showed you how easy it is to get started with Window Clippings and take your first screenshot of a window, but what about multiple windows? Let’s start again with the capture screen:
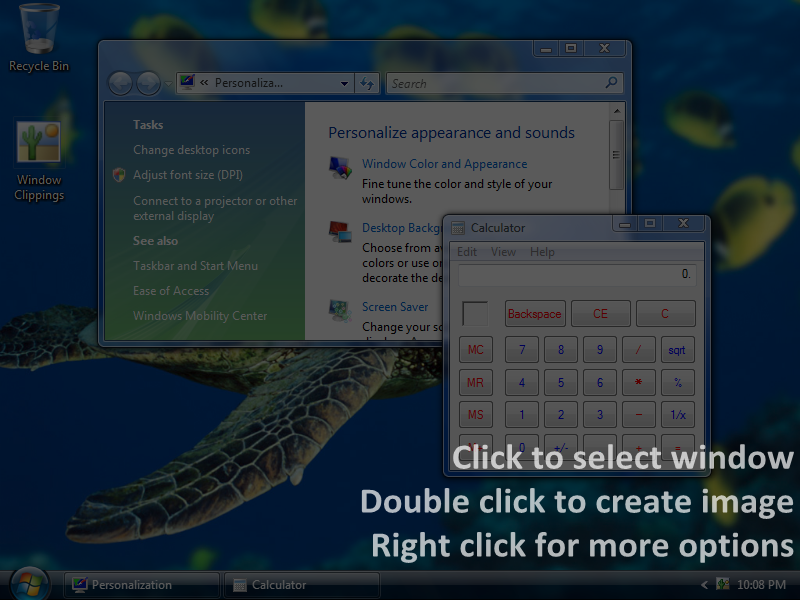
If you simply double click the desired window then Window clippings will capture an image of it and close the capture screen. If however you single click a window then the capture screen will highlight your selection and allow you to modify your selection in different ways before it is captured:
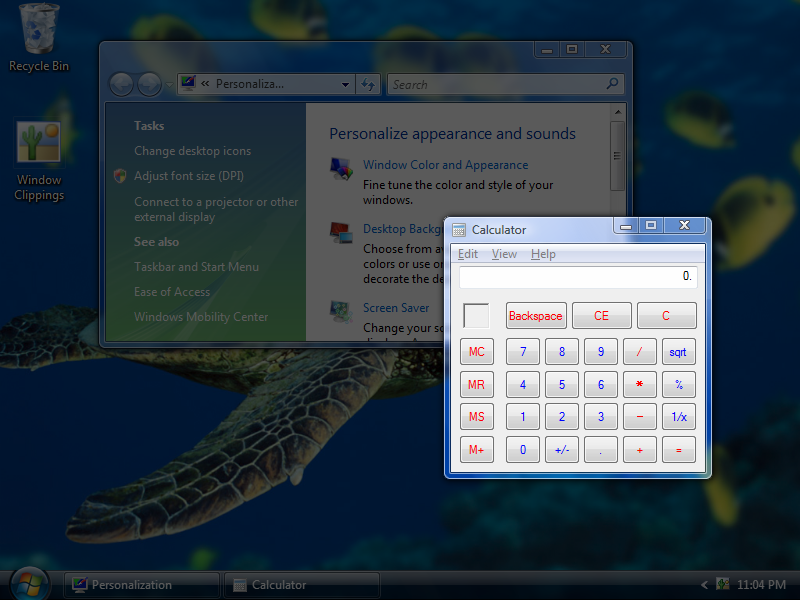
One of the things you can do at this point is add additional windows to your selection. Simply hold down the Control key (Ctrl) on the keyboard and click another window:

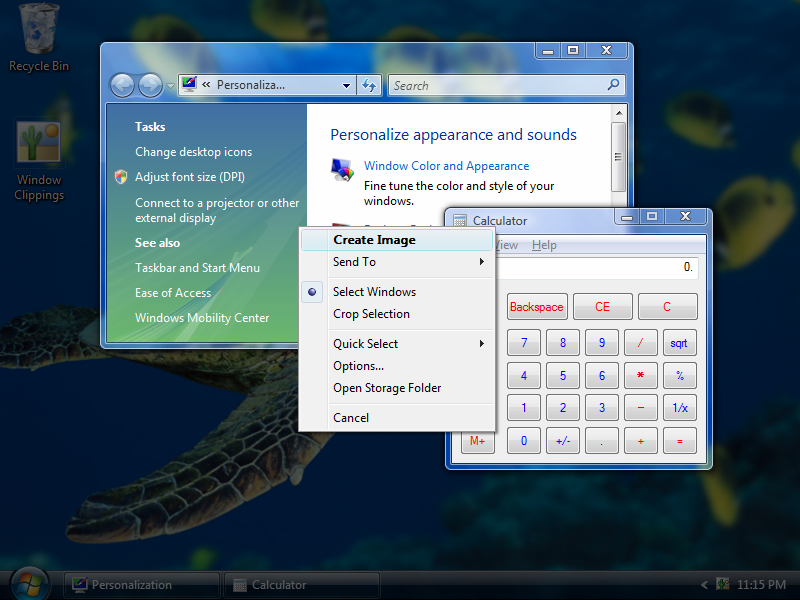
You can of course remove a window from the selection by clicking it again while holding the Control key. Once you’re happy with your selection you can right click the capture screen and select the “Create Image” command:
And the results are just what you’d expect:
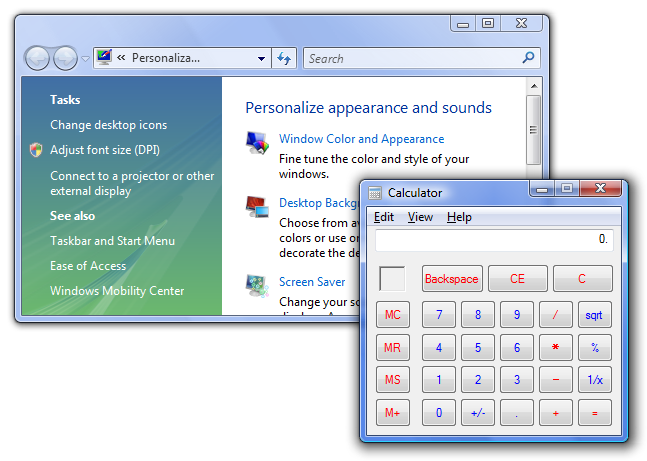
There are a few more exciting selection features. Stay tuned for more “How to ...” articles.
Note: To avoid right clicking and selecting the Create Image command you can also double click. The trick however is to double click the last window you’d like to include in the selection before you’ve actually selected it. Since Window Clippings treats the first click as a selection/deselection operation, selecting a window first and then double clicking it may remove it from the selection when multiple windows are involved. I’m not entirely happy with this behavior and am working to improve this aspect of multiple window selection in an upcoming release.
© 2008 Kenny Kerr