How to use nested custom elements with CSS Shaders
Last time I wrote about how to use Polymer to create custom elements. This time we will create two custom elements, where one of them is going to use the other to add additional functionality. We will also use CSS Filters and properties unique to this element.
If you don´t know what Polymer is and how to get it, please read my last post about it.
As I demonstrated in the last post, it´s really easy to create a new custom element and use it on your page. An element is not always a simple control though, but can be a collection of different controls. We could add all these controls into one huge element, or we could create smaller components which we will use together in a new element.
In this post I will create a new element (x-filter) which uses CSS Filters, and that element will be used in another element (x-choosefilter) which will have a dropdown list where we can choose which filter we want to use. The x-filter element will be able to set the filter on any element we want, so we will need to make it possible to add additional elements inside of it.
This is how we will use the elements on the page with x-choosefilter:

Since the x-filter element is just an ordinary element, we will also be able to use that directly on the page.
The first thing we will have to do here is to create the x-filter element.
<element name="x-filter" attributes="filter">
<template>
<style>
.grayscale {
-webkit-filter: grayscale(100%);
-moz-filter: grayscale(100%);
-ms-filter: grayscale(100%);
-o-filter: grayscale(100%);
filter: grayscale(100%);
}
.blur {
-webkit-filter: blur(3px);
-moz-filter: blur(3px);
-ms-filter: blur(3px);
-o-filter: blur(3px);
filter: blur(3px);
}
.brightness {
-webkit-filter: brightness(25%);
-moz-filter: brightness(25%);
-ms-filter: brightness(25%);
-o-filter: brightness(25%);
filter: brightness(25%);
}
.contrast {
-webkit-filter: contrast(50%);
-moz-filter: contrast(50%);
-ms-filter: contrast(50%);
-o-filter: contrast(50%);
filter: contrast(50%);
}
.dropshadow {
-webkit-filter: drop-shadow(5px 5px 5px rgba(0, 0, 0, 0.5));
-moz-filter: drop-shadow(5px 5px 5px rgba(0, 0, 0, 0.5));
-ms-filter: drop-shadow(5px 5px 5px rgba(0, 0, 0, 0.5));
-o-filter: drop-shadow(5px 5px 5px rgba(0, 0, 0, 0.5));
filter: drop-shadow(5px 5px 5px rgba(0, 0, 0, 0.5));
}
.huerotate {
-webkit-filter: hue-rotate(180deg);
-moz-filter: hue-rotate(180deg);
-ms-filter: hue-rotate(180deg);
-o-filter: hue-rotate(180deg);
filter: hue-rotate(180deg);
}
.invert {
-webkit-filter: invert(100%);
-moz-filter: invert(100%);
-ms-filter: invert(100%);
-o-filter: invert(100%);
filter: invert(100%);
}
.opacity {
-webkit-filter: opacity(50%);
-moz-filter: opacity(50%);
-ms-filter: opacity(50%);
-o-filter: opacity(50%);
filter: opacity(50%);
}
.saturate {
-webkit-filter: saturate(1000%);
-moz-filter: saturate(1000%);
-ms-filter: saturate(1000%);
-o-filter: saturate(1000%);
filter: saturate(1000%);
}
.sepia {
-webkit-filter: sepia(100%);
-moz-filter: sepia(100%);
-ms-filter: sepia(100%);
-o-filter: sepia(100%);
filter: sepia(100%);
}
</style>
<div id="filter" class="{{ filter }}">
<content></content>
</div>
</template>
<script>
'use strict';
Polymer.register(this, {
filter: '',
setFilter: function (test) {
this.$.filter.className = test;
}
});
</script>
</element>
As you can see, we have a couple of CSS classes which uses one filter each. We are not going to implement support for different values for each class in this element, but that is something you could add if you want to. You will just have to change the JavaScript to take care of the value as well. We could also make it possible to sett the filter more dynamically instead of having one class for each, but for this demo I don´t feel that it´s necessary.
Since we use content element inside of <div id=”filter” …></div>, everything we send to the x-filter element will be styled with the filter we have chosed.
To test this, we will add a new HTML page (index.html):
<!DOCTYPE html>
<html>
<head>
<meta charset="utf-8" />
<title>CSS Filters</title>
<link rel="import" href="x-filter.html">
<script src="polymer.min.js"></script>
</head>
<body>
<h1>CSS Filters</h1>
<x-filter filter="sepia">
<img src="image.jpg" />
</x-filter>
</body>
</html>
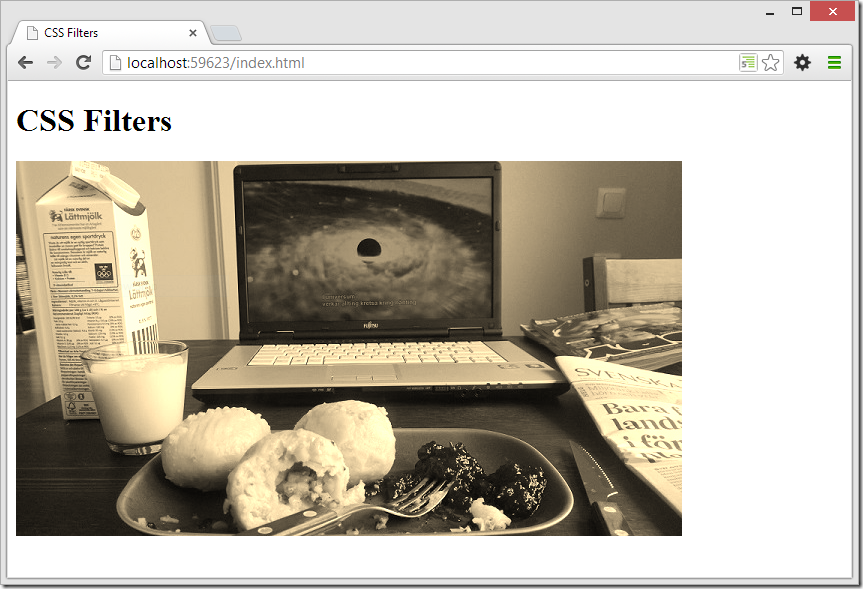
We have added an import link in head, and havet hen added the x-filter element with the filter set to ”sepia” and the content to an image we have. If we open the page now, we will se this:

The image which is just a normal photo, have instead got a sepia filter. At the moment, this demo only works in Chrome (I am using Chrome Canary 29) since CSS Filters isn´t fully implemented in other browsers.
The next step is to add a dropdownlist where we can use different filters and switch easily. To do this we will create a new HTML page for the new x-choosefilter element.
<element name="x-choosefilter">
<template>
<select id="selectedfilter" on-change="setfilter">
<option value="">None</option>
<option value="grayscale">Grayscale</option>
<option value="blur">Blur</option>
<option value="brightness">Brightness</option>
<option value="contrast">Contrast</option>
<option value="dropshadow">Drop shadow</option>
<option value="huerotate">Hue rotate</option>
<option value="invert">Invert</option>
<option value="opacity">Opacity</option>
<option value="saturate">Saturate</option>
<option value="sepia">Sepia</option>
</select>
<x-filter id="xfilter">
<content></content>
</x-filter>
</template>
<script>
'use strict';
Polymer.register(this, {
filter: 'opacity',
setfilter: function () {
this.$.xfilter.setFilter(this.$.selectedfilter.value);
}
});
</script>
</element>
We create this element the same way as before, but we will send the content into the x-filter element from this one. When we change the value for the dropdown list, we call the setFilter(…) method which we created in the x-filter element.
If we want to use this element, we will have to add an link to index.html, and then add the element. We will still need to have the link to x-filter in index.html.
The new and improved index.html:
<!DOCTYPE html>
<html>
<head>
<meta charset="utf-8" />
<title>CSS Filters</title>
<link rel="import" href="x-filter.html">
<link rel="import" href="x-choosefilter.html">
<script src="polymer.min.js"></script>
</head>
<body>
<h1>CSS Filters</h1>
<x-choosefilter>
<img src="image.jpg" />
</x-choosefilter>
</body>
</html>
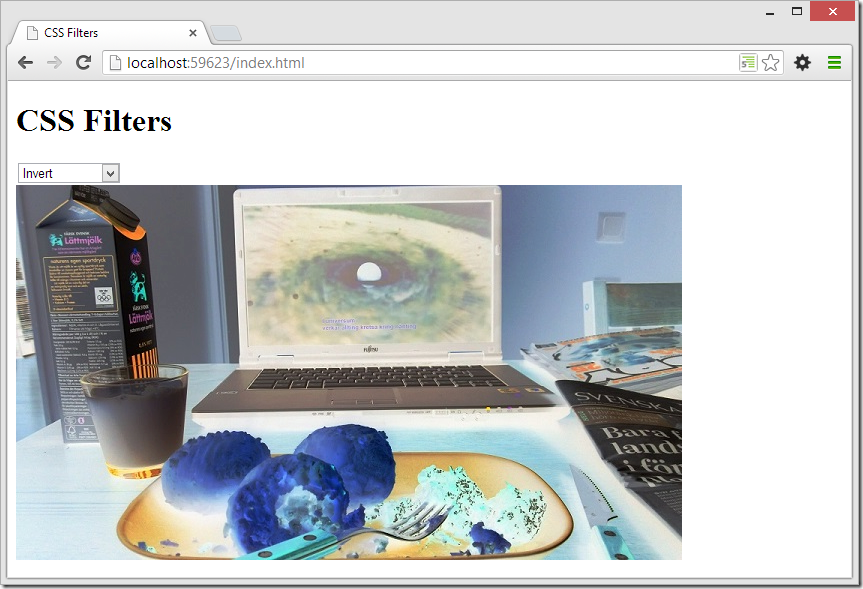
If we open the page now, we will have the dropdown list where we can change filter.

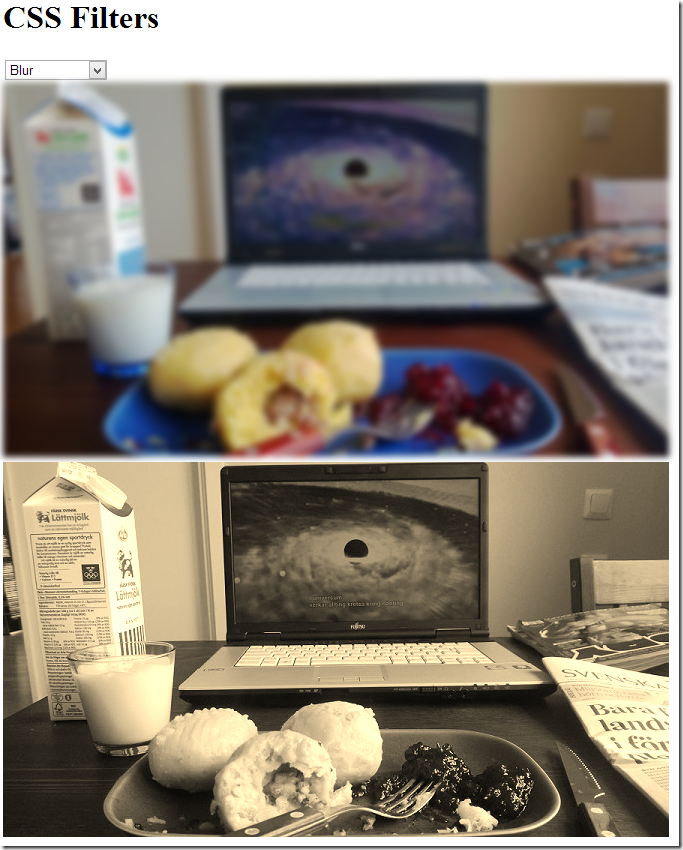
We are now able to choose between the different CSS Filters we provide, by simply adding the x-choosefilter element. We can still use x-filter though, and if we add it on the same page after the x-choosefilter element we will see this:

Since the elements have their own scopes with their own Shadow DOM they don´t affect each other. It means that we can add both this elements to existing web sites without breaking anything.