SharePoint 2010 – Setting Up Development Machine on Windows 7
You probably already know that SharePoint 2010 supports installing on 64-bit Windows 7 and Vista, for developers. I’ll give you a quick walkthrough of how I’m setting up my development machine, in continuation of my new found love for native-boot with VHDs.
My objectives
I want flexible approach so that I can work with future builds of SP 2010, and not needing to build whole environment each time.
- Use Windows 7 x64 developer desktop for SharePoint 2010 and Visual Studio 2010 Beta.
- Be able to quickly start afresh from base machine/image, on demand. (thinking VHDs already!)
- Utilize my desktop hardware: AMD Quad-core CPU, 4 GB DDR2 800, 2 SATA-II drives (500 GB each, RAID 1), with 24” screens.
Create VHD for native boot
You can either have base installation of Windows 7 and then dual-boot using VHD, or entirely boot from VHDs. I chose second option, and already have my default VHD running Windows 7 with Office 2007. When I initially prepared my first VHD using Windows AIK, I had backed it up to create new VHDs on demand. I will use this VHD to start afresh with a new VHD.
- Create a VHD and have it on physical partition, say D:\Virtuals\Windows7.SP2010Foundation.vhd (It is a sysprepped VHD of Windows 7)
- Make BCD store entry for new VHD. Sample instructions here from Sir Hanselman.
- Also install iReboot on this machine (and on new VHD later), so that we can quickly switch directly between VHDs from Taskbar. Not so painful for me, given fast booting of Windows 7 now.

- Optionally, I map all my personal folders like My Docs, My Music to D:\Users\[Username] using folder properties > location. I do that for each VHD in my environment. I have only one partition, and hence C: is my VHD and D: is the system partition. This allows to use my files/projects across VHDs.
- Reboot the machine to new VHD/OS (“SharePoint Foundation 2010”).
- Use, soon to be available, SP 2010 Foundation media. Extract it to your drive, make config change to support Client-OS install. Install pre-requisites, manually. (more on it later…!)
- Reboot the system into SP 2010 Foundation VHD.
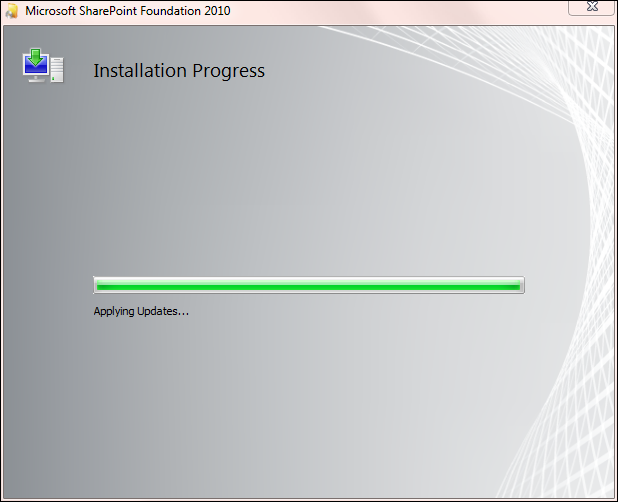
- Having extracted the media, and with pre-requisites installed, run the setup to install SP 2010 on desktop. Select standalone installation.
- Once installed, it will run Config Wizard – just like in 2007. This will create all databases, configuration and applications for you.
- Now download and install Visual Studio 2010 Beta 2.

- Also you would want to install SharePoint Designer 2010, Office 2010, Visio 2010, and Project 2010… based on your needs and availability.


Using native-boot VHD approach gives greater flexibility without any compromise of resources. Using iReboot, you can anyways switch quickly and boot into desired VHD. And don’t forget to enable new Developer Dashboard.
I hope Microsoft (SharePoint Team) would make trial VHDs available with above/similar configuration for developers to jump-start on SP 2010 Beta in November.
Enjoy.
--Sharad