UruIT Blog
A nearshore dev team passionate about agile, web and mobile
-
The impact of mobile app performance on user experience

-
How to Work and Manage a Team Remotely

-
Flutter vs React Native: Everything You Need to Know
Both React Native and Flutter are pretty well-known in the cross-platform universe, and they are both great options for building mobile apps. Some context:
-
Why and How you Should Integrate UX in Product Development
-
A Brief Introduction to Big Data Applications and Hadoop App Development
-
Software Developers Need Soft Skills Too – and Meetups Are Here to Help
Originally published in blog.uruit.com: Software Developers Need Soft Skills Too – and Meetups Are Here to Help
-
How to stay connected with your remote team
In 2018, 70% of the people around the globe worked remotely at least once a week and it was estimated that 3.9 million Americans worked from home at least half the week. Within the IT industry, it’s a great option for companies to get high-quality development at lower rates, by having teams in a different country.
-
UI on Another Level: Benefits of Web Design Illustration User Experience
Original post here: UI on Another Level: Benefits of Web Design Illustration User Experience
-
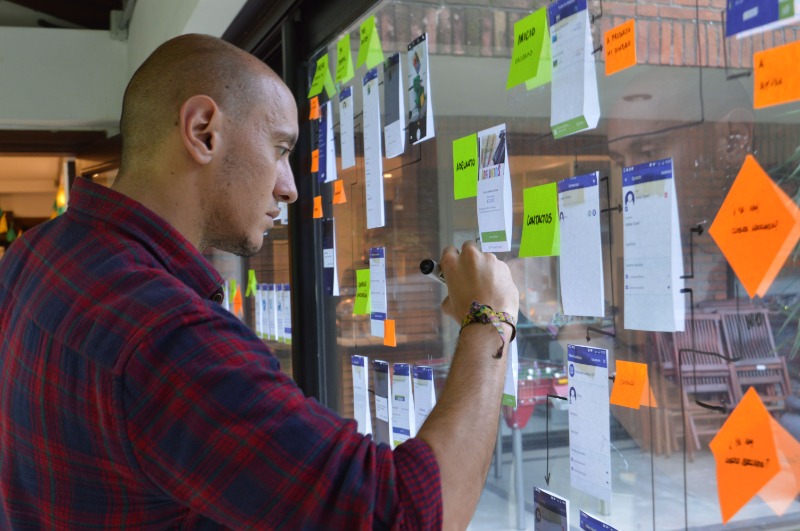
Going Back to the Basics: Agile Values
Last month I had the opportunity of attending “Ágiles Colombia”, the Colombian Conference on Agile frameworks that draws in attendees from all over Latin America. Typical of the Agile world, the conference had an open space format, one in which anyone can propose a talk and the schedule is self-organized.
-
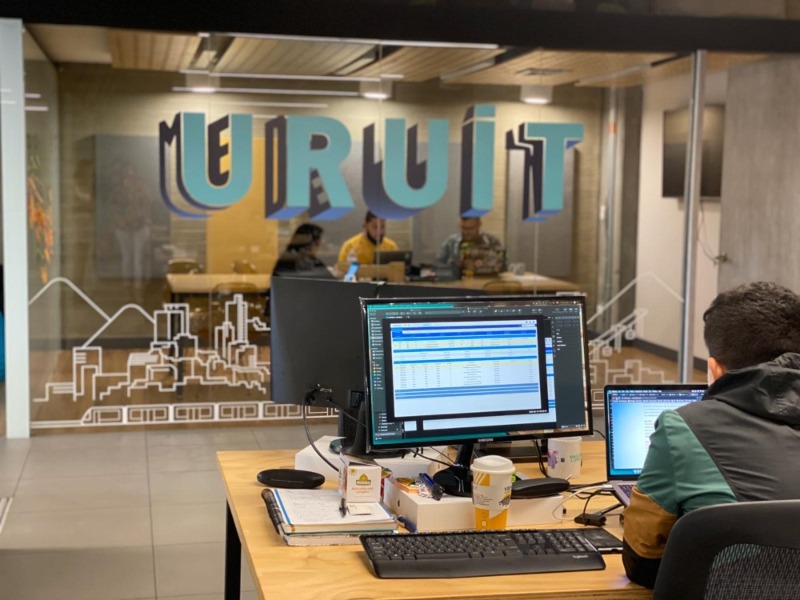
UruIT launches its second office in Colombia