References and Class Library Asp.Net vNext – Alpha 3
This blog post is about how to add references and creating Class Libraries for Asp.Net vNext applications. There are two ways of creating a Class Library, either by adding a new project and select Asp.Net vNext Class Library template or just creating a sub folder and add a project.json file to that folder. We can also reference to a NuGet package that already includes a Class Library. Adding a reference to a NuGet or Class Library is done by using the project’s project.json file.
Adding a reference to a NuGet package
An Asp.Net vNext project has a project.json file located in the root folder of the project. This project.json file contains configurations of the project, for example references to dependencies. The following is an example of the project.json file:
{
   "dependencies": {
   },
   "frameworks" : {
      "net451" : { },
      "k10" : {
         "dependencies": {
            "System.Console": "4.0.0.0"
         }
      }
   }
}
There are two places where dependencies can be
configured in the project.json file, the root “dependencies”
property, or to a specific framework, for example “net451”
(Normal .Net Framework) or the “k10” (A sub set of the .Net
Framework and is referred to the cloud-optimized version).
If we want to use EntityFramework we can for example
reference to it in the root “dependencies” property:
{
   "dependencies": {
      "EntityFramework": "7.0.0-alpha3"
   },
   "frameworks" : {
      "net451" : { },
      "k10" : {
         "dependencies": {
            "System.Console": "4.0.0.0"
         }
      }
   }
}
When dependencies is configured and the project.json
file is saved, all the dependencies will be downloaded from
a NuGet source. The packaged will be downloaded and
extracted to global folder, the
“%userprofile%\.kpm” or “$HOME\.kpm” (on
*nix) on your machine. This will make sure the “packages”
folder will not be added to our solution, and there will be
one global place where all the NuGet packages will be
located. So now there is no more duplications of packages
for each solutions.
By default an Asp.Net vNext
project will be using the .Net Framework (not the
cloud-optimized), and all references added to our project
will be taken from the NuGet’s “net45” folder under its
“lib” folder. If we change the project to target the
cloud-optimized .Net Framework, the references will be taken
from the “k10” folder instead.
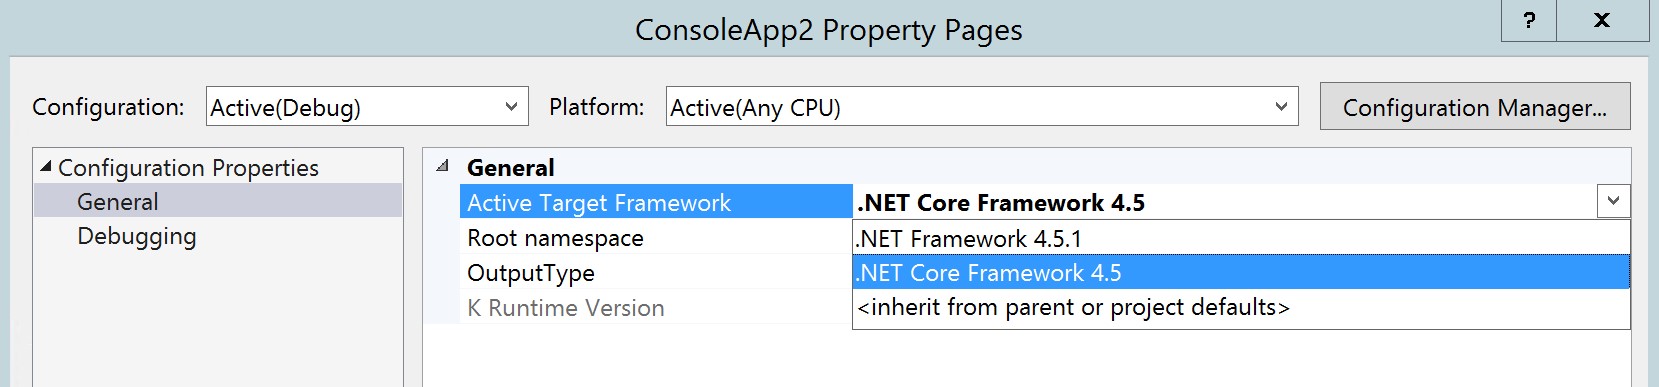
To change the target framework to use another
framework, for example the cloud-optimized framework, we
simply right click on our project in the solution explorer
and select properties. Change the “Active Target Framework”
to “.Net Core Framework 4.5”.
When the target
framework is changed to the cloud-optimized framework, the
references will be taken from the referenced NuGet packages
“k10” folder. It will also change and replace all other
references to use the cloud-optimized .Net Framework and the
dependencies added to the project.json file under the “k10”
property (in this case the System.Console).
{
   "dependencies": {
      "EntityFramework": "7.0.0-alpha3"
   },
   "frameworks" : {
      "net451" : { },
      "k10" : {
         "dependencies": {
            "System.Console": "4.0.0.0"
         }
      }
   }
}
The following is a project targeting the “.Net
Framework 4.5.1”, take a look at the added references:
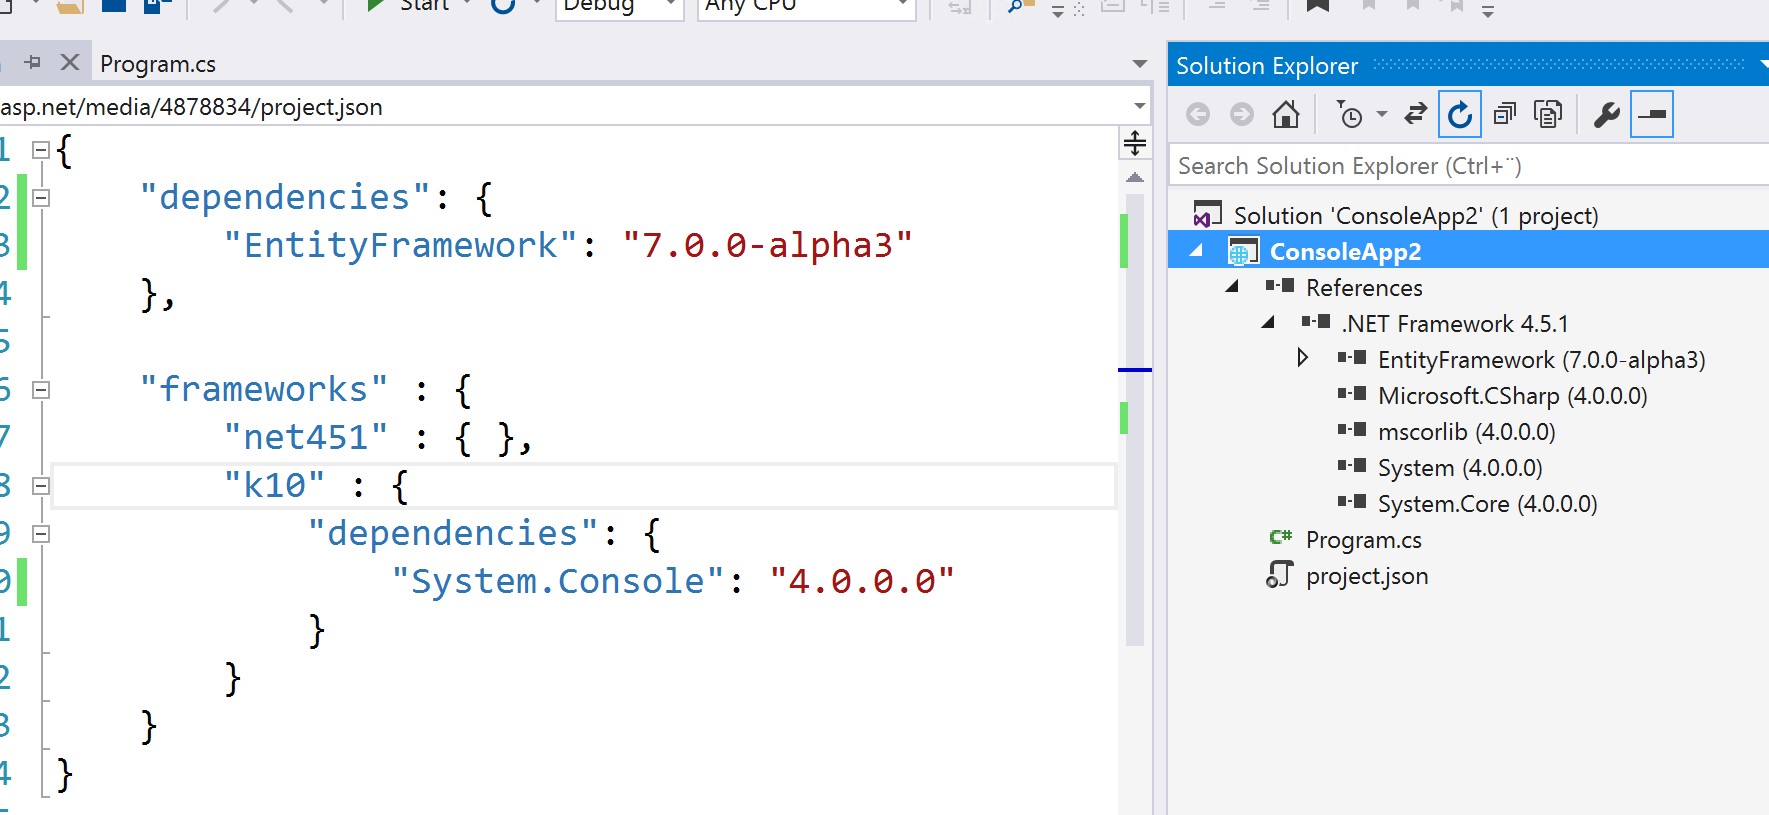
When the project’s targeting framework
is changed to the “.Net Core Framework 4.5” the reference
will be changed:

If a dependencies is added to the “k10”, for
example EntityFramework:
{
   "dependencies": {
   },
   "frameworks" : {
   "net451" : { },
      "k10" : {
         "dependencies": {
            "System.Console": "4.0.0.0",
            "EntityFramework": "7.0.0-alpha3"
         }
      }
   }
}
Only when the project’s targeting framework is set to
the cloud-optimized EntityFramework will be added as a
reference.
Adding a Class Library by using the “Asp.Net vNext Class Library” template.
To add a Class Library to our project we do what we always
have done, right click on our solution, select Add -> Add
New Project and select the “Asp.Net vNext Class Library”
template.
Note: We can’t use the normal “Class Library” template,
it will not work because it doesn’t uses the new Asp.Net
vNext project structure.
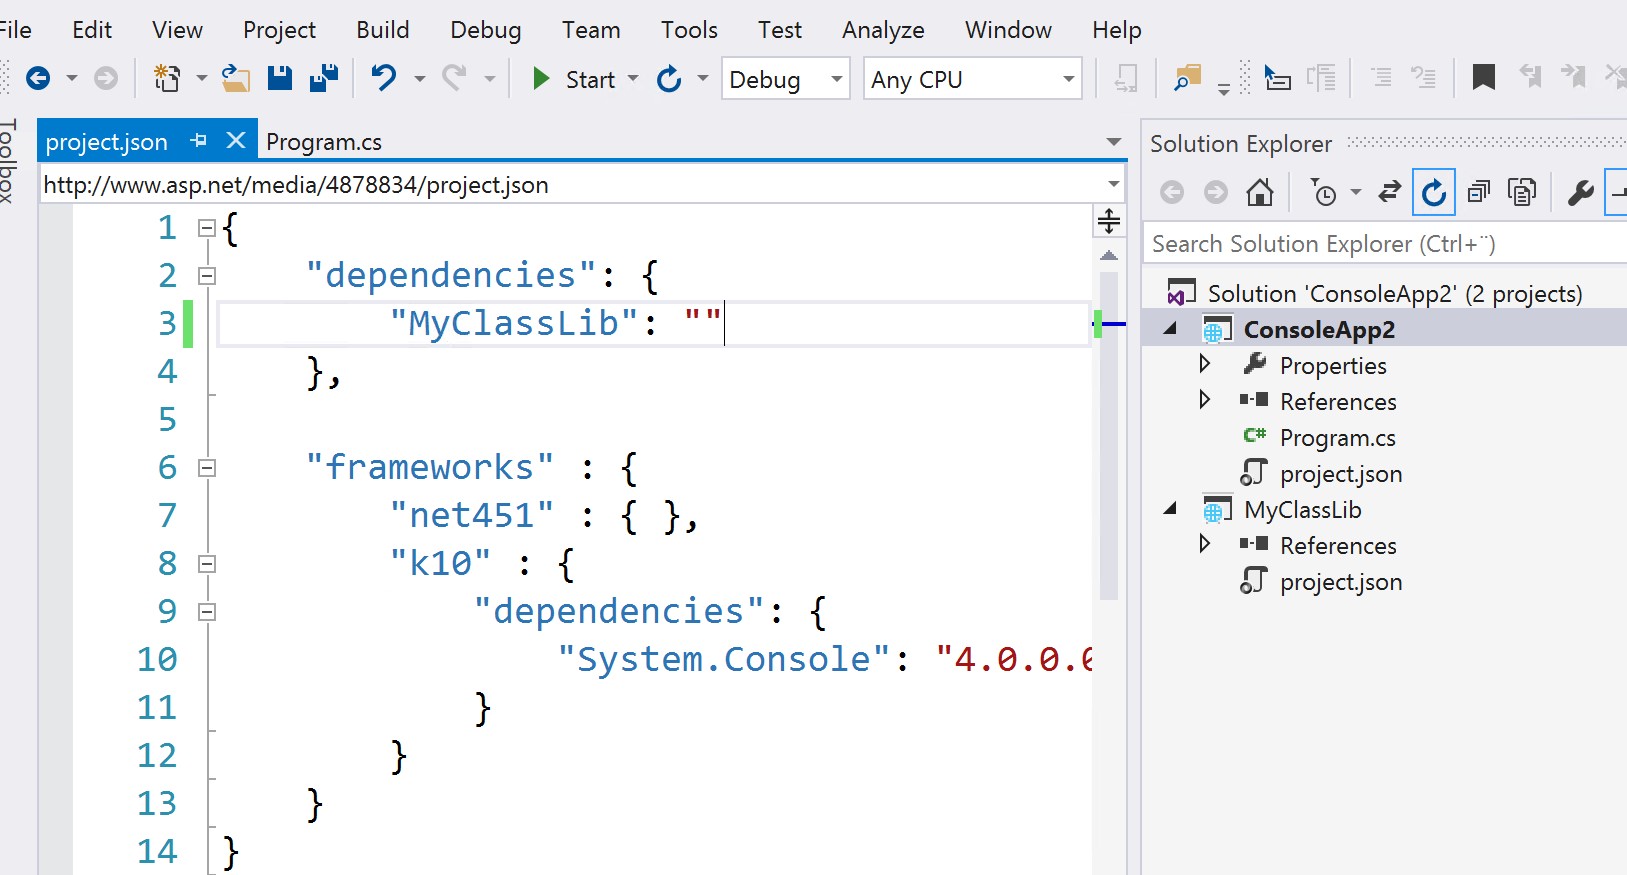
Adding a reference to the created Class Library is done by adding it to the “dependencies” property in our project’s project.json file.
{
   "dependencies": {
      "Classlibrary3": ""
   },
   "frameworks" : {
      "net451" : { },
      "k10" : {
         "dependencies": {
            "System.Console": "4.0.0.0"
         }
      }
   }
}
The Class Library will be added as a reference to our
project when the project.json file is saved.
If
we want to change the version of our Class Library, we can
add the “version” property to our Class Library’s
project.json file.
{
   "version": "1.1.0.0",
   …
}
A NuGet package will be created when we build our
Class Library. It contains two folders with assemblies for
the “k10” and “net45” framework. This package can then be
shared among others by adding it to a NuGet repository.
Creating a Class Library as a folder
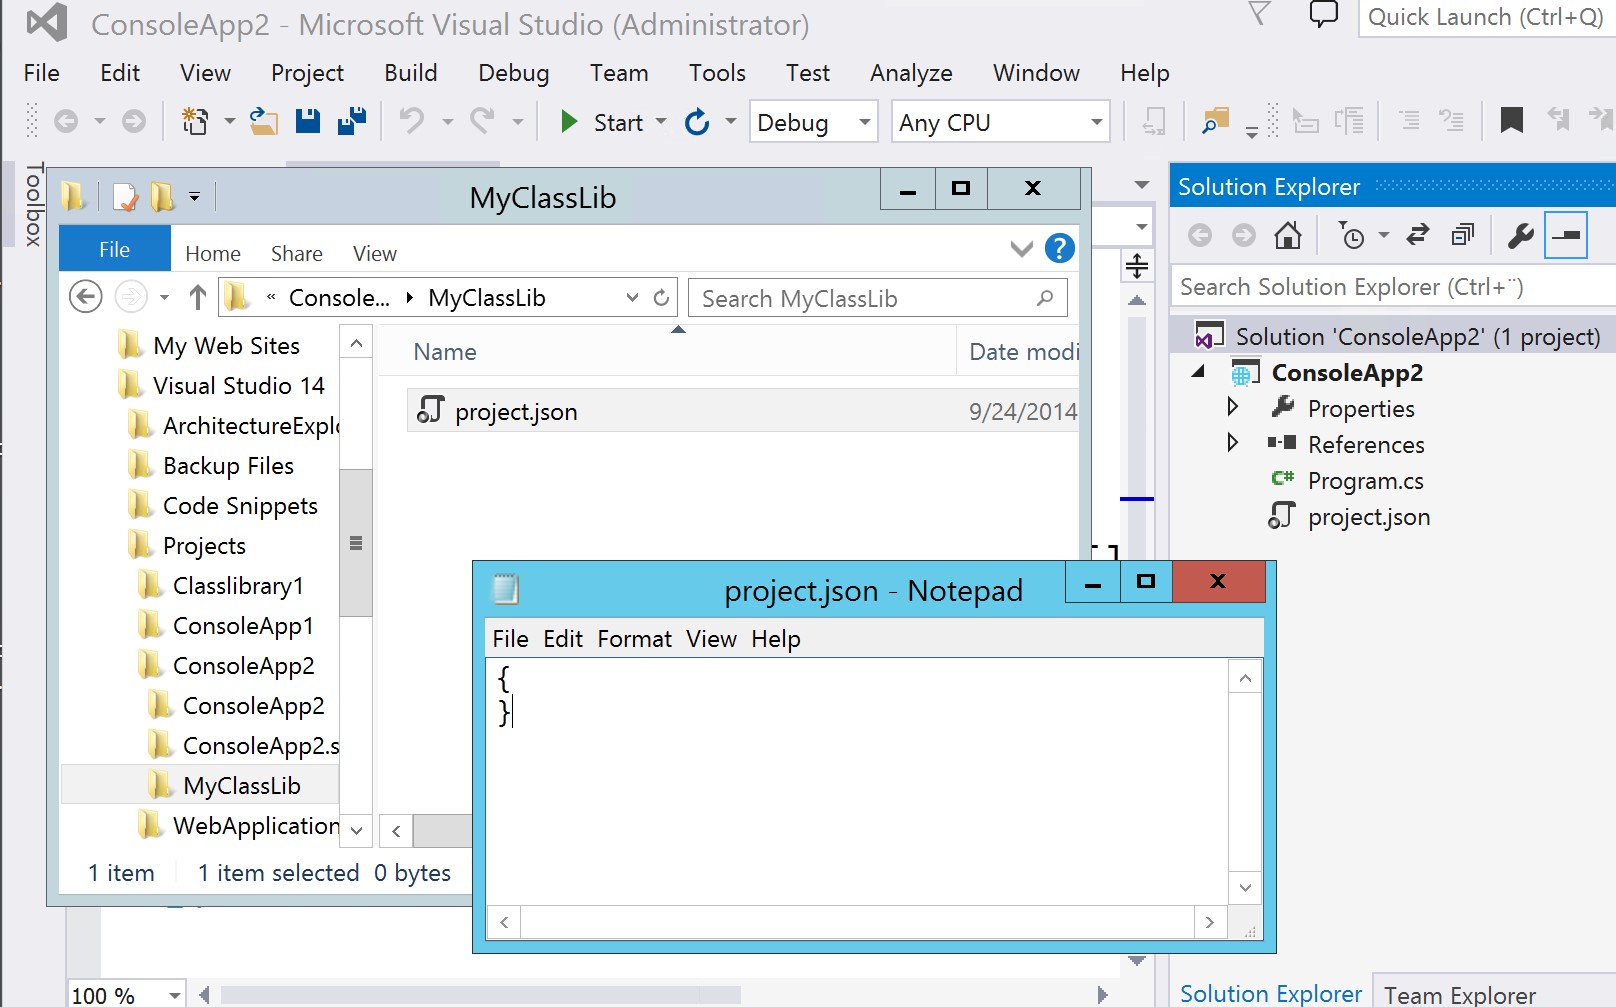
We can also create a Class Library by adding a folder
in the root folder of our solution, then add a project.json
file to that folder.
To reference to the Class Library we simply just add
the name of the folder to the "dependencies" property in the
project’s project.json file. The folder and its content will
be automatically loaded into our solution as a Class Library
and will be ready for use.
Summary
There are two ways of creating a Class Library, either
by adding a new project and select Asp.Net vNext Class
Library template or just creating a folder under your
project and add a project.json file. There is also a third
way and that is using a NuGet package. Adding a reference to
a NuGet or Class Library is done by using the project’s
project.json file.
Feel free to follow me on
twitter:
@fredrikn