Merging Images in Websites and WebApps
Sometimes a very different request comes from customers to developers. That happened to me a couple of weeks ago with a client to whom we developed an ecommerce website.
We’ve been having requests to change things here and there, update the shopping cart, add functionality to the store, and so forth. However, this request took me by surprise. The website uses a cloud service to merge images as customers select different options, but now, our client wanted to generate his own composite images and avoid the cloud service fee. Yes, that was it…
It’s no surprise that business are trying to reduce costs. But I never expected to have this kind of request, as the cloud service we are using is very powerful and flexible, although expensive.
Anyway, I’ve never worked with images before, I mean, like doing this kind of work which is somehow more complex than just handling images. Well, to my surprise, there is a lot of functionality in the .NET Framework that helped me achieve this goal very easily. So I decided to write this post based on Marcelo Lujan’s article in CodeProject.com.
So, what’s the idea? I’m going to build a mechanism in which I have two images (jpegs for example) and a third one will be the merge of those two; that’s the result.
First, let’s start by creating a new website (a web application will do too). In an effort to create something simple, and focus on the merge of images instead of the website functionality (because this procedure can be easily ported to a windows forms application) the images will be already in the website and will be named back.jpg and front.jpg.
So, our website should look something like this:

Now, our Default.aspx page will only have the two images, a button (that will trigger the merge procedure) and an image object to show the newly created image.

So, now, let’s go to the code behind and create the procedure in the OnClick event of the button. To start, we have to add a couple of namespaces to the page, they are:
using System.Drawing;using System.Drawing.Imaging;
{
var backImage = Image.FromFile(Server.MapPath("~/images/back.jpg"));
var frontImage = Image.FromFile(Server.MapPath("~/images/front.jpg"));
var mImg = Image.FromFile(Server.MapPath("~/images/back.jpg"));
var gp = Graphics.FromImage(mImg);
gp.DrawImageUnscaled(backImage, 0, 0);
gp.DrawImageUnscaled(frontImage, 0, 0);
gp.Save();
mImg.Save(Server.MapPath("~/images/merge.jpg"));
mergedImaged.ImageUrl = Page.ResolveUrl("~/images/merge.jpg");
}
Here I create 3 image objects and one Graphic. Here, I need to create twice the back image because one is for the back and front images, and the third is for the initialization of the graphic.
var backImage = Image.FromFile(Server.MapPath("~/images/back.jpg"));Next, after initializing the graphic object, I draw the back (this is first) and front images onto the graphic and save the changes (this happens in memory as the graphic is only in memory).
var gp = Graphics.FromImage(mImg);
Then, the final step is to actually save the image to the system. We use the Save method and I save the image with the name merge.jpg and assign it to the third image in the page to show the result:
mImg.Save(Server.MapPath("~/images/merge.jpg"));We should have a result like this:

But we can do better. You see, the problem with this approach is that you actually interact with the file system; therefore, the problem is, first, with permissions and second with hard disk space. Why? You might be wondering, well, let’s consider a scenario where the website is in a shared hosting environment and you can’t assign write permissions to the images folder (this should not happen but…) but after several mergers you can run out of space.
Now, we can do better by not saving the image to the system, but to memory and render the image on the fly. Ring a bell? Well, let’s modify a bit the app by adding a second webform and name it ShowImage.aspx. Now, let’s move the merge code from the default.aspx.cs code behind file to the newly created page in the Page_Load event like this:
protected void Page_Load(object sender, EventArgs e){
The main difference happens in the last 3 lines. Instead of saving the image to the file system, we use a MemoryStream object and write that to the response buffer. Actually the ShowImage.aspx page doesn’t have anything but only this code in the code behind file.
So, how do we make it work? Let’s change the OnClick event for the button in default.aspx like this:
protected
void btnMerge_Click(object
sender,
EventArgs
e)
{
mergedImaged.ImageUrl =
"ShowImage.aspx";
}
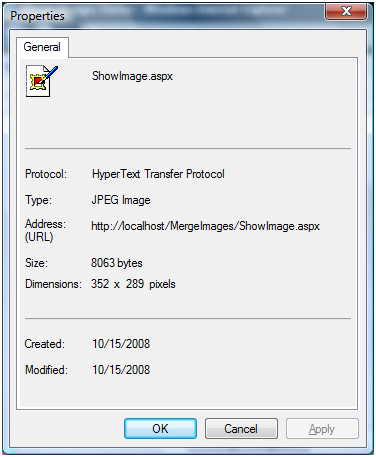
After running the page and clicking the image we see the result, and it’s much faster than the previous approach because everything happens in memory, and the properties of the merged image looks like this:
There you have it. I’ve included the source code of the sample in C# and VB.NET.
Please comment on this, as I'm no expert in this field I would love to hear from you and enrich this sample app.
Enjoy,