Introducing NuPack
When you install ASP.NET MVC 3 Beta or WebMatrix Beta 2, a new product called ”NuPack” is installed with it. NuPack makes it possible to quickly add references to third party products like Ninject, jQuery and so on. All necessary files (dll, js etc) are automatically added to the project, and necessary modifications in web.config are automatically added.
There is an existing list with packages that is used when installing NuPack, but you can create your own if you need to. You can also put all packages on a network share so you can distribute them to all developers at your company.
I am going to show you how to add packages in both Visual Studio and WebMatrix since they work differently.
NuPack in Visual Studio 2010
In Visual Studio, we have to different ways to add references, in the GUI or through a Console window, which is based on PowerShell.
In the GUI, we can get a list with all products, add them to the project and update existing references. In the console window, we can do the same, but also remove existing references.
NuPack works in both existing projects, and in new projects. I have now created a new ASP.NET MVC 3 project with no references at all. To be able to log all errors, I would like to add ELMAH, which is a really good tool that can be used to log all errors. If I was going to add it manually, I would have to go to the homepage, download the assembly, add a reference to the assembly and then make some changes in web.config. If I want to use NHibernate or some other tools, I will have to do the same with them and all dependencies.
Instead of doing this manually, I will use NuPack to add ELMAH to my project.
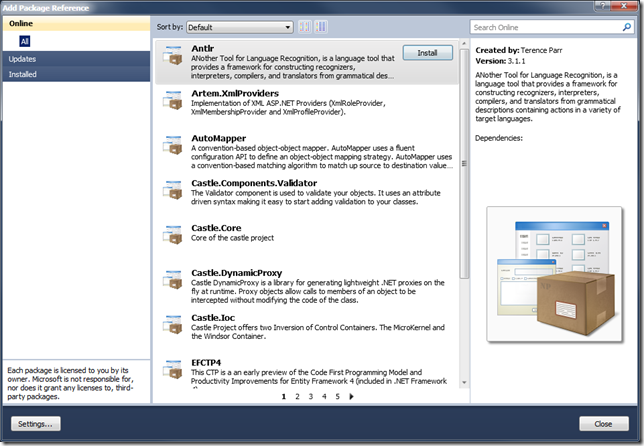
To add ELMAH, I right-click on References in my project, and then I click on “Add Package Reference”. This window is now opened:
I search for ELMAH and choose to install it. What happens now is that ELMAH is downloaded and added as a reference in the project, and all necessary modifications in web.config are automatically done!
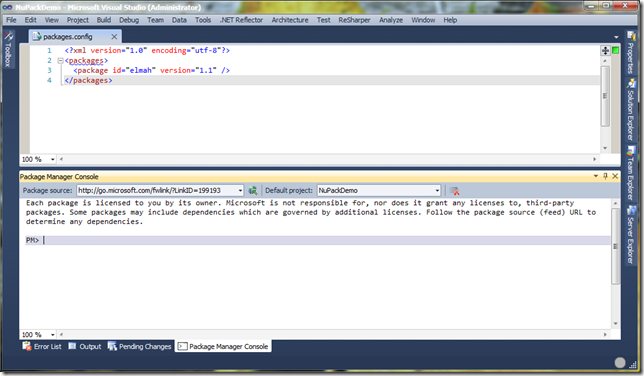
If we take a look in the folder where we have our solution, there is a new folder named ”packages”, and here we can find ”elmah 1.1” which contains all files we just downloaded. We have also got a new file in our project, “packages.config”, which contains the name and version of the package.
This took a few seconds to do, which is going to save us a lot of time compared to doing this manually (downloading files, adding references, reading instructions etc).
We also have a concole window for NuPack, which can be used the same way.
We can use commands like:
· Add-Package name – Adding the package ”name”
· Remove-Package name – Removing the package ”name”
· List-Package – Displays a list with all packages
· Update-Package name – Updating the package ”name” to the latest version
If we want to remove ELMAH, which we just added we can write:
Remove-Package ELMAH
All references are deleted, and the changes in web.config are restored.
If we install MvcScaffold we will get new PowerShell commands to use, such as Add-MvcView, which adds a new view to the project.
ASP.NET Web Pages
If we want to use NuPack with ASP.NET Web Pages, we can use a website instead.
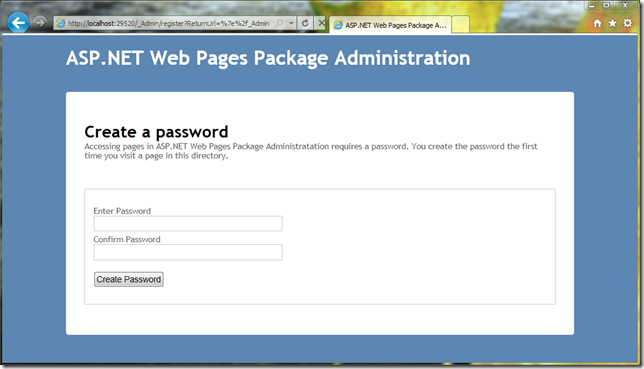
If we want to display the site, go to /_Admin in the browser. The first time we go here, we will have to set the admin password:
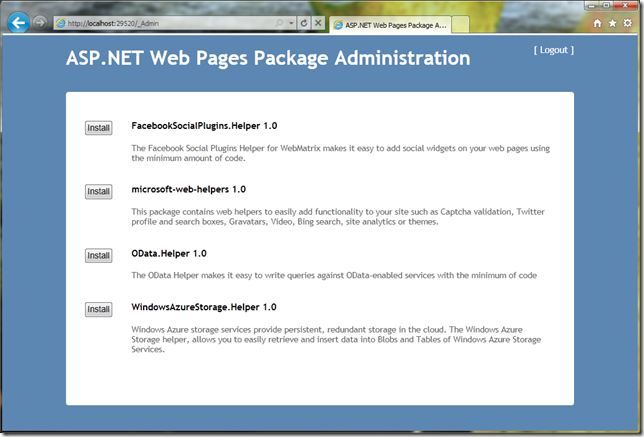
When we have entered the password, we will get to the next step where we can see a list with all available packages:
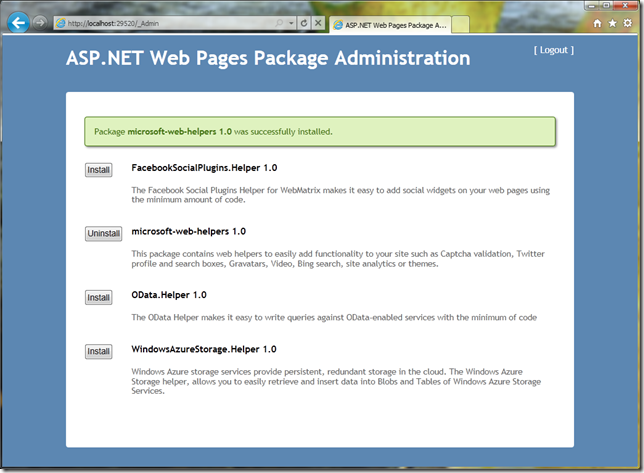
The packages available for ASP.NET Web Pages contain different helpers, such as a Bing-helper which can be used to search on our site using Bing. There are also some other helpers here. If we choose to install Microsoft-web-helpers 1.0, the package will be downloaded and we will get this:
We can now use the helper on our site by writing:
@Bing.SearchBox(”http://www.minsida.com”)
This is the result:
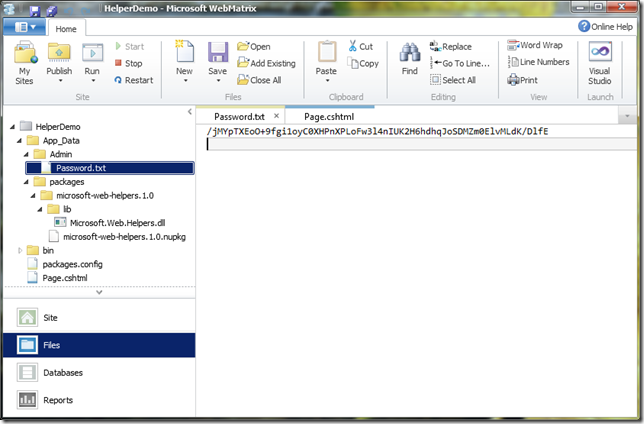
The first time we logged in on the site, we had to create a password. This password is hashed and then saved in a text file on the server:
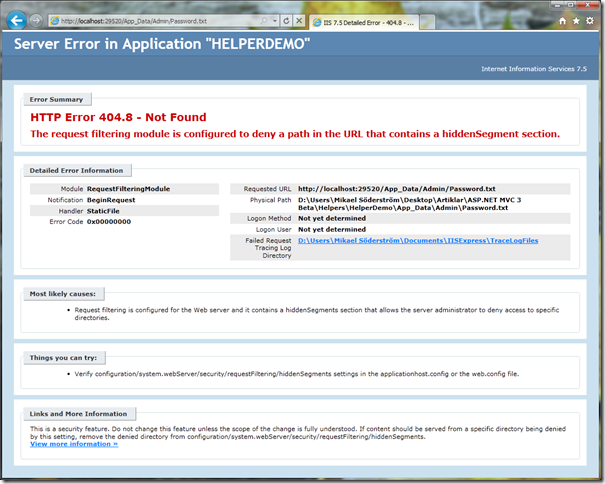
It may look bad and insecure to store it in clear text, but you can´t actually open that file in the browser:
