Ajax Control Toolkit Installation in Visual Web Developer
by Nannette Thacker
Update 11/24/2011: For Visual Studio 2010 4.0 Framework users:
My blog post was written a few years ago for 3.5 SP1. I needed to install the Ajax Control Toolkit for Visual Studio 2010 4.0 Framework and wanted to make sure there were no problems, so I googled "install ajax control toolkit visual studio 2010" and found this step by step guide:
http://www.asp.net/ajaxlibrary/act.ashx
It installed perfectly for me the first time, so I'd recommend following the above link. There were just a few steps and voila!
Thanks! Nannette
Original Blog Post continues below for Ajax Control Toolkit Installation in Visual Web Developer:
To install the Ajax Control Toolkit, first download the zip file from http://www.asp.net/ajax/.
Unzip the files into any directory. Give it a name like "AjaxControlToolkit." 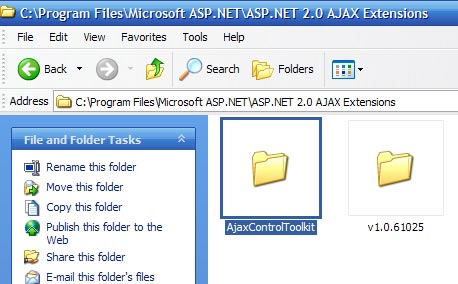
Open your Visual Web Developer and right click in the Toolbox area. Select "Add Tab." 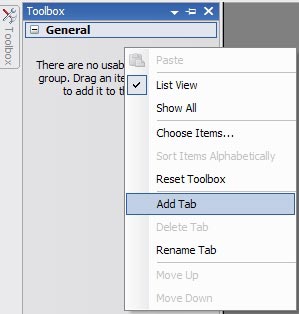
Name the tab with something like "Ajax Tookit." 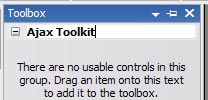
Right click the new tab area, and select "Choose Items..." 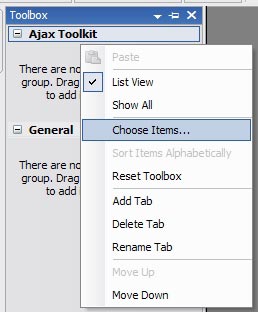
This will bring up a dialog box to "Choose Toolbox Items." Select the "Browse" button. 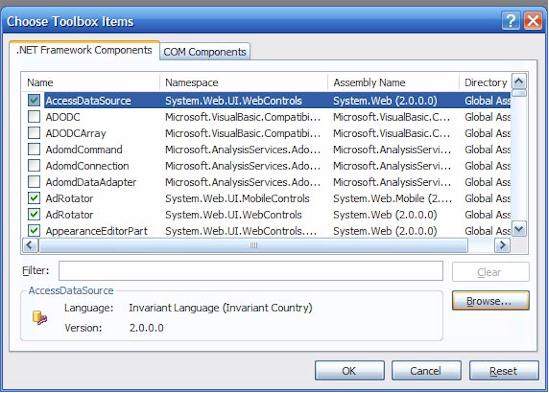
Browse to the directory where you unzipped the Ajax Toolkit files. There is a "SampleWebSite" directory within your "AjaxControlToolkit" directory. Browse to the "Bin" directory within the "SampleWebSite" directory. 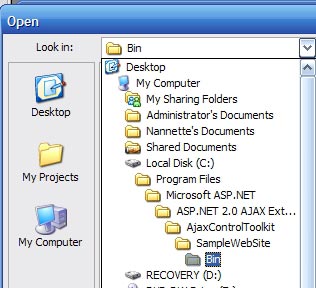
Find and select to open the "AjaxControlToolkit.dll" file. 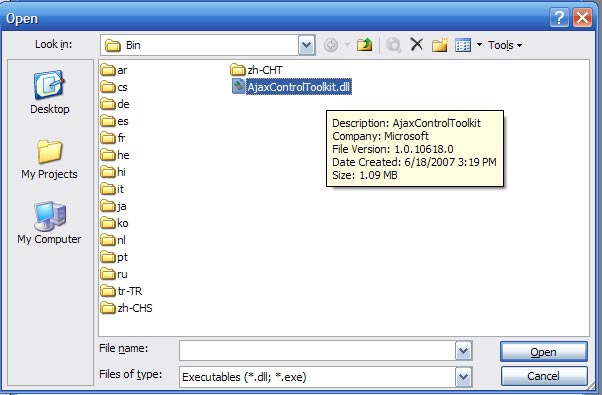
The Choose Toolbox Items dialog will appear, this time with the Ajax Tookit controls selected. Select the "OK" button. 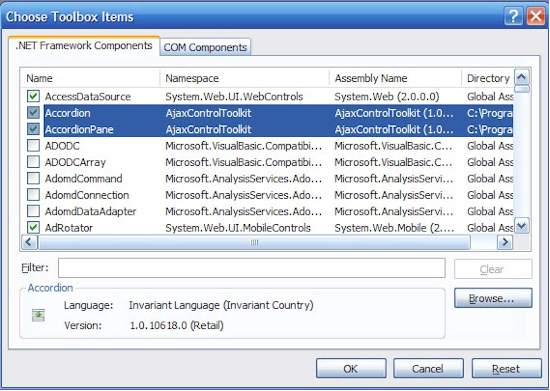
Open or create a web form within your project. Now when you open your toolbox, you will see all of the Ajax Control Toolkit controls, ready for use within your applications. 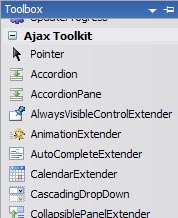
May your dreams be in ASP.net!
Nannette