Getting Started with Windows Azure: Part 2 - Creating a Windows Azure Hello World Application
Follow along as I learn all about Windows Azure.
Part 0 – Where do I go to get started?
Part 1 - Setting up your development environment
Part 2 - Creating a Windows Azure Hello World Application <<<< YOU ARE HERE
Below are the steps to create a simple Windows Azure Hello World application. These steps assume that you have installed the Windows Azure Tools for Visual Studio. See Part 1 - Setting up your development environment for more information on setting up your development environment.
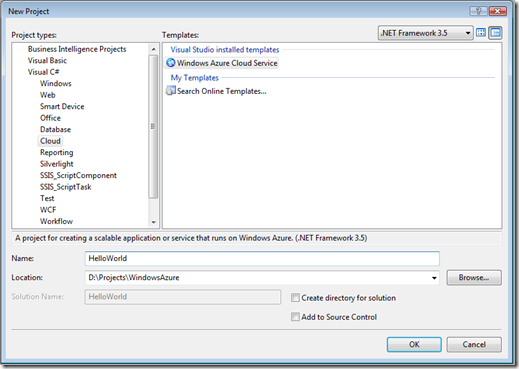
Open Visual Studio 2008 and choose New Project. Then expand the language of your choice and click on the “Cloud” category to find the Windows Azure Cloud Service project type.
Select the Windows Azure Cloud Service project type and then you will be presented with the Role selection dialog. Choose the ASP.NET Web Role and move it to the right-hand frame. You can edit the name of the role by clicking on the edit (pencil) icon for that role.
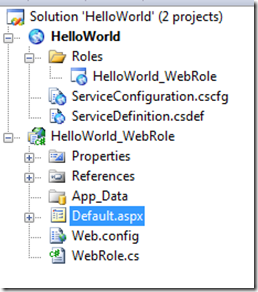
You will then have Visual Studio projects like the following:
Modify the Default.aspx page to include your “Hello World” text or anything else you would like and then hit F5 to test.
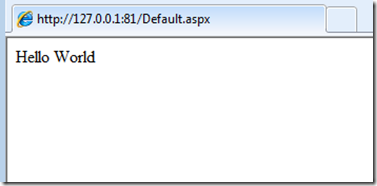
After Windows Azure finishes initializing the Development Storage, you will be presented with your Hello World page running on your local machine:
At this point you are ready to deploy to the cloud but first you need to sign up for the service. I will move on with how to sign up and create the Windows Azure Portal Account and then come back to publishing and deploying your Hello World project later….
Signing up for the Windows Azure Service
Next up is to sign up for the Windows Azure Service through Microsoft Online Services. Signing up for a Windows Azure account can be a little confusing since you don’t sign up for Windows Azure directly but sign up with Microsoft Online Services which manages all of your subscriptions to the Microsoft Online Services (Azure is one of them; there also is the hosted Exchange and SharePoint which you can sign up for too).
You can see the various Windows Azure offers from this page and here is a Windows Azure Comparison chart which shows that there is a free offer called “Introductory Special”. The Introductory Special offer says it lasts only until July so I guess at that point Microsoft Online Services will start charging your credit card for any services that are in use.
WARNING: The introductory offer only includes 25 hours of compute time. You can easily burn through that by just leaving your deployment running (faster if you have both a staging and production deployment running). Make sure you DELETE (not suspend; you must DELETE) your hosted service deployment (see below) when you have finished with this tutorial.
Clicking on the Buy button takes me to the Microsoft Online Services customer portal where you can sign in with your Windows Live account and sign up for the Windows Azure Service. NOTE: Signing up on the Microsoft Online Services site is a multi-step process where you first create your account, then checkout with the Windows Azure Introductory Special in your shopping cart, activate your service, and finally specify the service administrator.
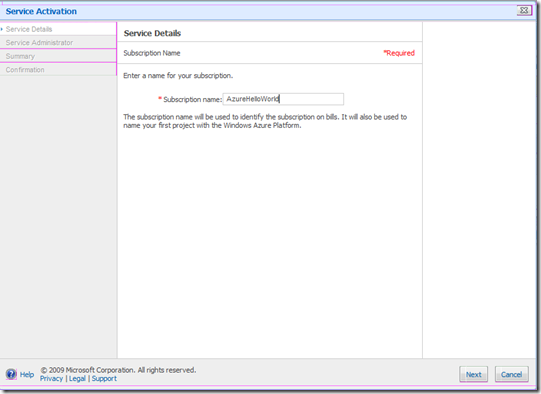
Here is the Service Activation Screen where I have specified the project name as “AzureHelloWorld”. This project name will be the project that is created in the Windows Azure Portal later on (what’s up with those purple borders around everything?!?).
Now you will have a subscription to Windows Azure and after a little bit the Microsoft Online Services Customer Portal will show that the Service is Active:
Now you can go to the Windows Azure Portal (http://windows.azure.com) and sign in with the same Windows Live account that you used to sign up for the subscription at Microsoft Online Services.
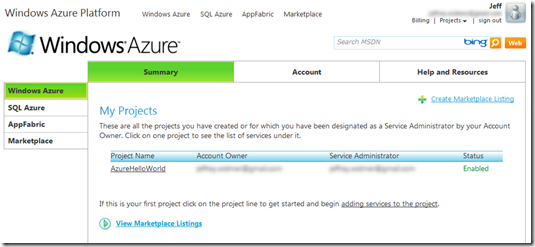
Now you will see the Windows Azure Portal home page with a single project named from when you activated the service (in my case, AzureHelloWorld).
Select this project and choose New Service which is located to the right and just above the project name:
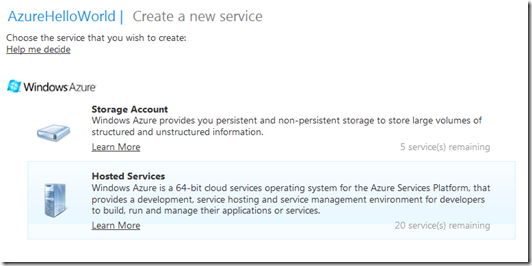
Choose the Hosted Services from the two Windows Azure services that are presented:
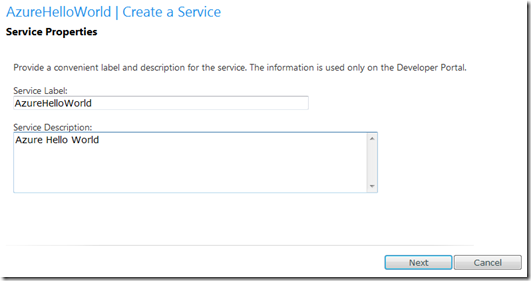
Then name the service:
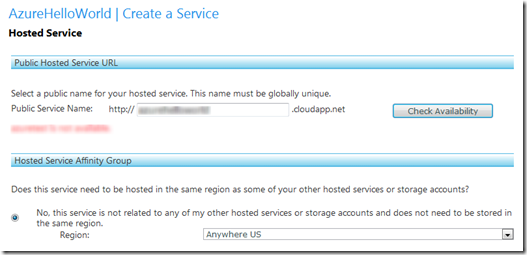
Then choose a url for your service and also the region where it will be running:
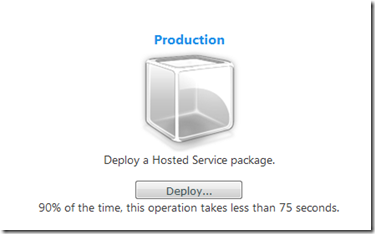
Clicking Next will get you to the Deployment page:
Now you are at the point where you can deploy your Hello World project that you created earlier, but first you have to use Visual Studio to Publish it.
Return to your Hello World Visual Studio Windows Azure project and right click on the HelloWorld Azure Project and click “Publish…”:
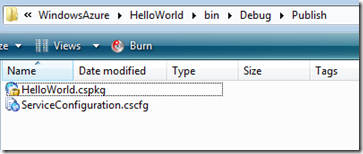
This will create the deployment package and the configuration package (and open Windows Explorer to their location too):
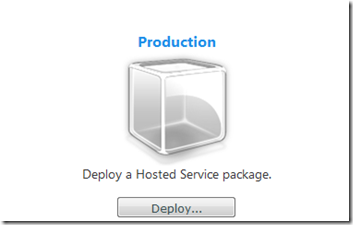
A new browser will be opened and you will be taken to the Windows Azure Portal but you can close that and return to the previous window where the Deploy cube was showing:
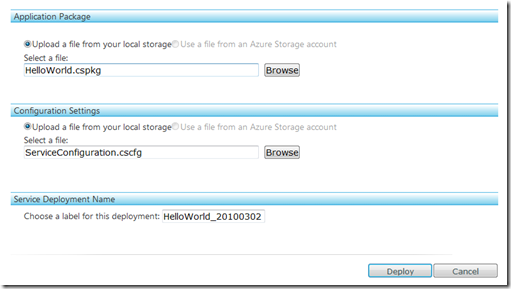
Click that “Deploy…” button and browse to the application package (*.cspkg) and configuration settings (*.cscfg) and then give a name for this deployment:
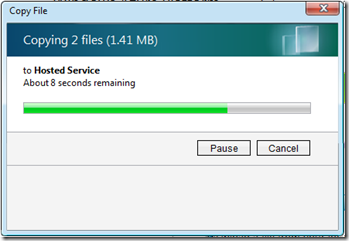
and finally click the Deploy button. Your files will begin copying:
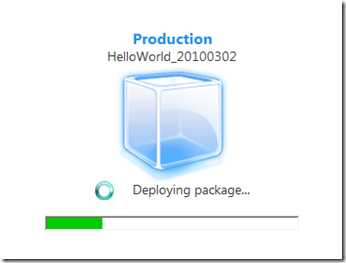
And then you will see your package getting deployed:
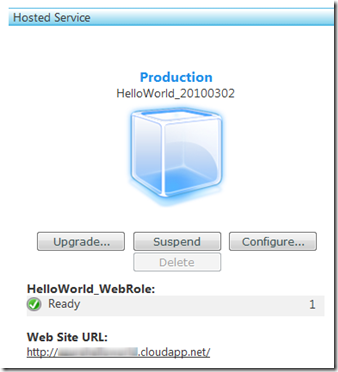
Then once it is deployed, you can click Run and your application will begin initializing:
This took a while for me but eventually it finished (I actually went to lunch so I am not sure how long it took but it was greater than 10 minutes).
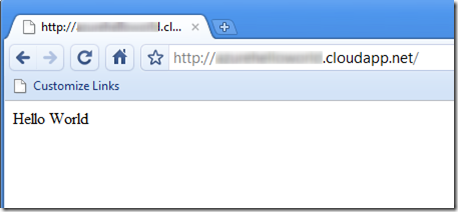
And now when you browse to the cloudapp.net web site url on your console you will get your Windows Azure Hello World:
And there you have it… a successfully created and deployed (and running) Windows Azure Hello World application from beginning to end.
DON'T FORGET: Make sure your DELETE your hosted service deployment when you are finished trying out Windows Azure. The introductory offer only includes 25 hours of compute time. You can easily burn through that by just leaving your deployment running (faster if you have both a staging and production deployment running). And only suspended it does not stop the hours from accumulating. You will need to DELETE the hosted service deployment to stop the compute hours from accumulating.
