Dynamic Data Web Application - Part 1
ASP.NET 3.5 Extensions
is a package of new controls and tools that improve the
existing ASP.NET 3.5.
One of the interesting (and
time-saving) features, is the Dynamic Data Controls. Dynamic
Data Controls can be used to build easily, almost without
writing any line of code a complete data-driven Web
Application.
The controls cover the common things that
developers use when build a web application which work with
DB - view information, delete, update, view detailed
information, add new data etc.
For example, let's say we need to build a management panel for DB. First, we (or the DBA) build the DB, and then, we create a web forms for managing this DB. Let see how can I do it simply with Dynamic Data Web Application in 5 minutes.
In this article, you won't see any line of code!
The site we build is actually based on the Dynamic
Data controls built-in template, and doesn't include any
custom logic.
In the real world, we may want to add
our logic, and in the next part of the article you'll see
how to do this.
Step 1 - Create a new Dynamic Data Web Application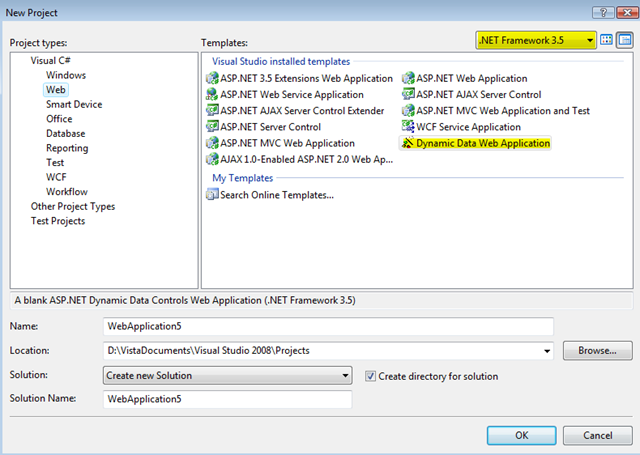
After you downloaded and installed the ASP.NET 3.5 Extensions, you open your VS 2008, and create new Dynamic Data application. Note that you must use .NET 3.5 for this (if you use .NET 2.0, maybe you want to check ASP.NET Futures July CTP which works in .NET 2.0)
Step 2 - Add you database to the App_Data folder
In this example, I use the Northwind database.
Step 3 - Add LINQ to SQL Classes File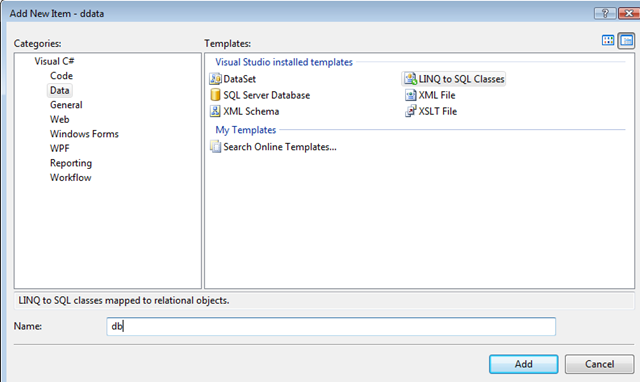
Add new item to your project, I called in "db". The Dynamic Data Controls based on LINQ to SQL Object Mapper, and use it to get and work with your DB. Drag from the Server Explorer the items you want that Dynamic Data will work with. I added all the tables in Northwind DB.
Step 4 - Edit your web.config file
If you don't want to customize the Dynamic Data site, and you want to create fully data driven application without writing even one line of code (great for demos), just go to web.config to line 130 and set enableTemplates property as "true" and set the dataContextType to the name of our LINQ to SQL classes name:
<dynamicData dataContextType="db" enableTemplates="true">
In this line we set Dynamic Data to work with the default templates (you can find them in App_Shared folder).
Step 5 - Run the Application
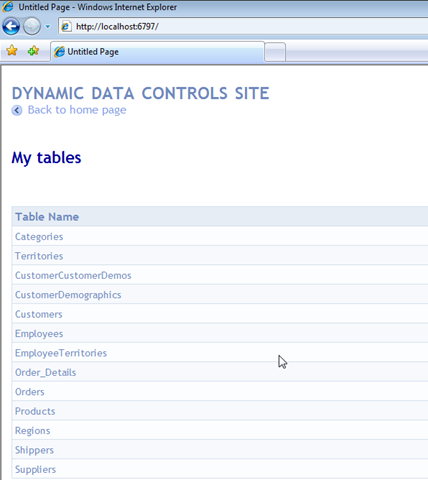
What we get by default?
The default
template of the Dynamic Data site stored in the App_Shared
folder. The web forms use the new controls - DynamicGridView
(which render on client side like a standard GridView),
DynamicFormView etc.
In the main page we can se list of all our tables that are
in the LINQ to SQL. The LINQ to SQL include the full
database schema, which means that all the relationships can
be used it the Dynamic Data Site.
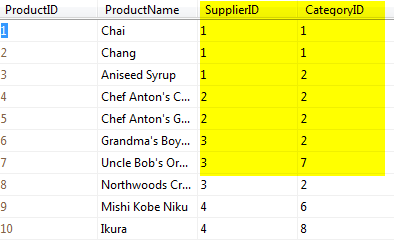
For example, take a
look in the Products page. you see a list of all the items
in GridView, you
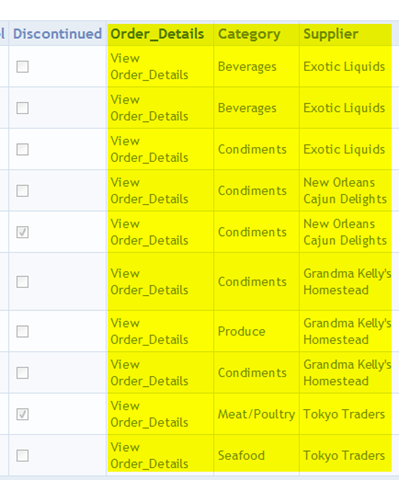 can select and see details in the DetailsView in the bottom
of the page, you can sort, edit and delete.
can select and see details in the DetailsView in the bottom
of the page, you can sort, edit and delete.
But, you can also see that the last 3 columns, are a
links to another pages that include the categories, the
order dentils and the supplier information. In the database
schema, this columns include only the ID of the category,
the ID of the Supplier. The DynamicData Controls, show
instead the ID, a link to page with the category details or
the supplier details.
 This feature based on the LINQ to SQL that create objects
from the tables, with association that make it possible for
DynamicData Controls to link the relevant page instead show
numeric ID.
This feature based on the LINQ to SQL that create objects
from the tables, with association that make it possible for
DynamicData Controls to link the relevant page instead show
numeric ID.
Summary
In this part, you see how to create a simple data driven web
application without write code.
In the next part,
we'll see how we can customize the application. change the
style, remove and add columns from the view, and add logic.
Shahar Gvirtz.