Install SharePoint 2010 in a farm environment
Recently for one of my project, I had a requirement to install SharePoint on a farm environment. I had a walkthrough with technet site and completed the installation. I thought share my scenario so that somebody with similar requirement may find this useful.
First of all, I had 2 servers for the implementation. So I have decided to dedicate one server for database and another for Sharepoint installation.
The server names are SP2010_DB (for database) and SPPortal (for sharepoint). Both are joined to the domain. For the sake of this article, I am mentioning the domain as SP2010FARM.
I have used the following user accounts for the installation.
| User Account | Purpose | Server roles required |
| SQLService | -Sql Server service account | - domain user account |
| Spsetup | The setup account for the following purposes 1. Sharepoint setup 2. Sharepoint products and configuration wizard | -domain user account - Member of administrator group in SP2010 - SQL server login in DB_SQL2008 -roles in sql server - security admin fixed - dbcreator fixed |
| Spdataaccess | Configure and manage server farm Application pool identity for centeral admin website Run the workflow timer service | Domain user account |
I have installed SQL 2008 on the server SP2010_DB and enabled tcp/IP and named pipes under network connection configuration. I am going to explain the installation procedure for the server SPPortal.
Installing prerequisites
Login to the sharepoint machine with the SPSetup account.
Before installing SharePoint server Pre-requisites needed to be installed on server where you run the setup for SharePoint. Launch the setup from the SharePoint 2010 DVD and click on “Install software prerequisites” under the Install section.
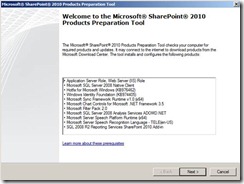
This will launch the Microsoft product preparation Tool.
In the first screen, it will show the components that are going to install/ configure as part of product preparation tool. Alternatively, you can install the prerequisites manually from the link http://technet.microsoft.com/en-ca/library/cc262485.aspx . If you are going to install manually, it is recommended to do the installation in the order shown above.
Click next and on the next screen, select the checkbox for “I Agree on terms of license agreement” and click next.
The installation will begin immediately. You need internet connection from the server. The installer will download some of the components from internet and install them.
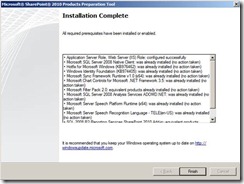
Once the installation is completed successfully, you will see the following screen. During the installation time, I got failure messages a couple times due to my internet connectivity. The best thing here is that the installer will check whether the component is already installed prior to installation. So if you got failure, you can simply start it over again to continue from where you stopped.
Now your server is ready for SharePoint installation. From the DVD, run the setup again and from the first screen, click on “install SharePoint server”.
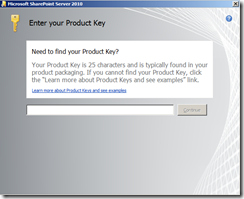
The installer will ask for product key, enter your product key and click continue
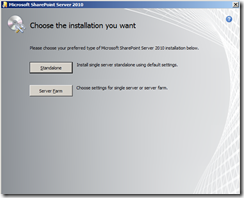
Once you enter the correct key, you need to agree on the terms and conditions, and then click next. Now you need to choose the type of installation as in the below screen.
Since I have 2 servers, I need to choose Server Farm Installation.
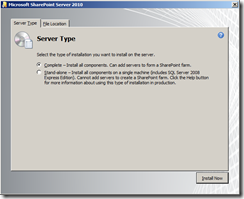
Now you need to select the server type. Select complete, and click on Install Now. If you want to control the location of the file where SharePoint is installed, you can select the location from File Location tab.
*It is recommended to install in a non system drive.
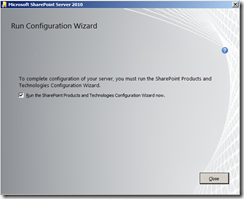
Once the installation is completed successfully, the following screen will appear. It is recommended to install SharePoint on all servers prior to do the configuration. In case you have multiple servers, you need to uncheck the checkbox and click close.
In this case, I have only one server to install SharePoint, so I selected the checkbox. Click close to start the configuration wizard.
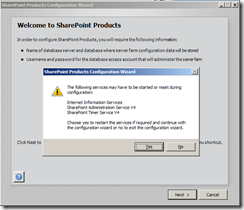
The SharePoint products and Technologies configuration wizard will start with the below screen. (Also you can start the wizard by navigating to start -> All Programs -> Microsoft SharePoint 2010 Products -> then click on “SharePoint products and technologies configuration wizard”.)
Click next to continue. You will get an alert message for confirming the restart of certain services. Click yes in the alert.
Connect to a Server Farm window will appear next. Select Create a new server farm option and click next.
Click next from this dialog
Now you need to enter the database details. If you enter correct details, it will go to the next step. Make sure you have enabled named pipes and tcp ip under network configuration of SQL Server; otherwise you will get connectivity issues. You need to use the data access account here, As mentioned in the user account section above, you need to use spdataaccess here.
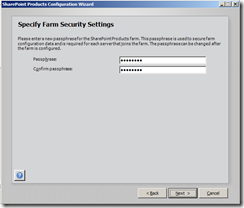
Now you need to enter the passphrase. The rule for passphrase is as follows.
- Minimum 8 characters length.
- Contains at least three of the following four character groups:
- English uppercase characters (from A through Z)
- English lowercase characters (from a through z)
- Numerals (from 0 through 9)
- Nonalphabetic characters (such as !, $, #, %)
You need to remember the passphrase as you need to enter this when you add servers to farm. Click next once you enter the pass phrase.
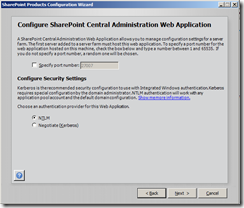
Now you need to configure the central administration web page. Enter the port number if you wish, or let the installer choose one for you. The SharePoint administration website will be available through this port.
Also select NTLM/Kerberos according to your environment
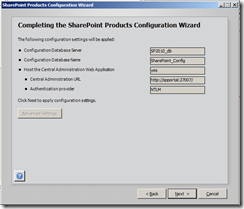
The installer will show you the configuration settings you have selected. If you want to change it, you will be able to go back and change as you required.
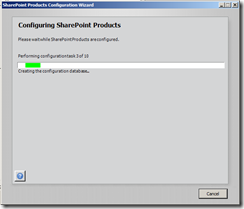
Clicking next will start the congiguration tasks. You can monitor the progress from the resulting window.
Once completed successfully, you will see the configuration success message as follows.
By clicking the finish button, the central administration website will be launched. You can use central administration website to create site collections and sites.



![clip_image001[1] clip_image001[1]](https://aspblogs.z22.web.core.windows.net/sreejukg/Media/clip_image0011_thumb_17DB6C42.png)
