Install SharePoint 2013 on a two server farm
When SharePoint 2010 was released, I published an article on how to install SharePoint on a two server farm. You can find that article from the below link.
Now it is the time for SharePoint 2013. SharePoint 2013 brings lots of improvements to the topologies, but still supports two-server architecture. Be noted that “two-server architecture” is meant for small implementations with limited service applications. Refer the below link to understand more about the SharePoint architecture
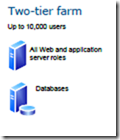
A two tier farm consists of a database server and a web/application server as follows.
In this article I am going to explain how to install SharePoint in a two server farm. I prepared 2 servers, both of them joined to a domain(SP2013Domain), and in one server I installed SQL Server 2012 (Server name: SP2013_DB). Now I am going to install SharePoint 2013 in the second server (Server Name: SP2013). The following domain accounts are created for the installation.
User Account
Purpose
Server roles required
SQLService
- SQL Server service account
- This account is used as the service account for SQL Server.
- domain user account / local account
spSetup
- You will be running SharePoint setup and SharePoint products and configuration wizard using this account.
-domain user account
- Member of the Administrators group on each server on which Setup is run(In our case SP2013)
- SQL Server login on the computer running SQL Server
- Member of the Server admin SQL Server security role
spDataaccess
- Configure and manage server farm. This
- Application pool identity for central admin website
- Microsoft SharePoint Foundation Workflow Timer Service
Domain user account
(Other permissions will be set to this account automatically)
The above are the minimum list of accounts needed for SharePoint 2013 installation. Now you need additional accounts for services, application pool identities for web applications etc. Refer the service accounts requirements for SharePoint from the below link.
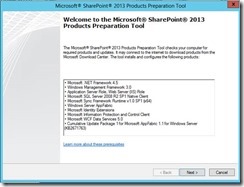
In order to install SharePoint 2013 login to the server using setup account(spsetup). Now run the setup from the installation media. First you need to install the pre-requisites.
During the installation process, the server may restart several times. The installation wizard will guide you through the installation.
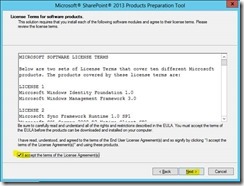
In the next step, you need to agree on the terms and conditions as usual.
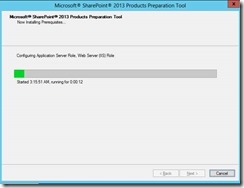
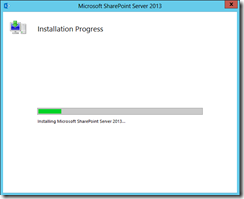
Once you click next, the installation will start immediately. The installation wizard will let you know the progress of the installation.
During the installation you may receive notifications to restart the server, you need to just click the finish button so that the system will be restarted.
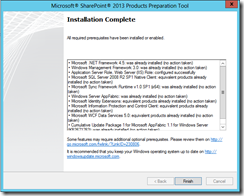
Once all the pre-requisites are installed, you will get the success message as below.
Click finish to close the dialog. Now from the media, run the setup again and this time you choose install SharePoint server.
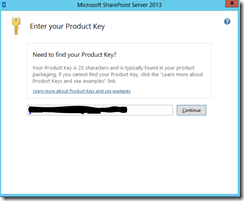
In the next screen, you need to enter the product key, and then click continue.
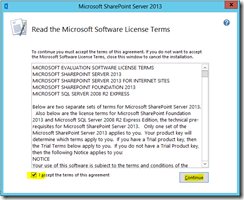
Now you need to agree on the terms and conditions for SharePoint 2013, and click continue.
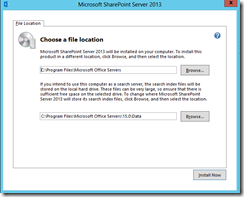
Choose the file location as per your policies and click on the install now button.
You will see the installation progress.
Once completed, you will see the installation completed dialog. Make sure you select the run products and configuration wizard option and click close.
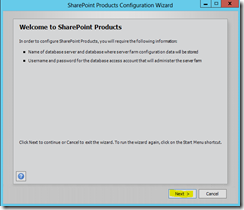
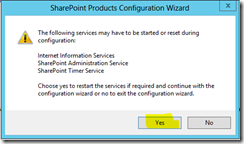
From the start screen, click next to start the configuration wizard. You will receive warning telling you some of the services will be stopped during the installation.
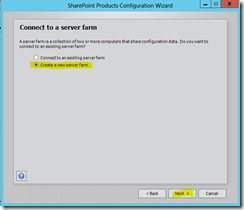
Select “create new server farm” radio button and click next.
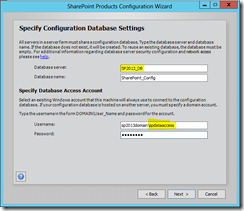
In the next step, you need to enter the configuration database settings. Enter the database server details and then specify the database access account. You need to specify the farm account(spdataaccess). The wizard will grant additional privileges to the account as needed.
In the next step you need to specify the passphrase, you need to note this as you need this passphrase if you add additional server to the farm.
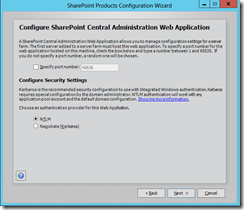
In the next step, you need to enter the central administration website port and security settings. You can choose a port or just keep it as suggested by the wizard.
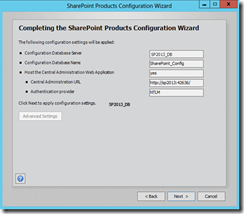
Click next, you will see the summary of what you have been selected. Verify the selected settings and if you want to change any, just click back and change them, or click continue to start the configuration.
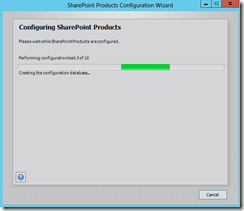
The configuration may take some time, you can view the progress, in case of any error, you will get the log file, you need to fix any error and again start the configuration wizard.
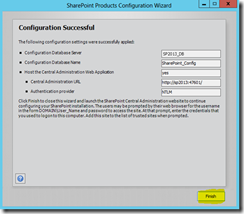
Once the configuration successful, you will see the success message. Just click finish.
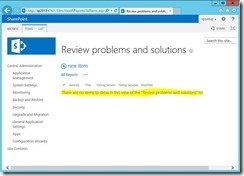
Now you can browse the central administration website. It is good to check the health analyzer to review whether there are any errors/warnings. No warnings/errors indicate a good installation.
Two-Server architecture is the least configuration for production environments. For small firms with less number of employees can implement SharePoint 2013 using this topology and as the workload increases, they can add more servers to the farm without reconstructing everything.
