Building Apps with Napa Office 365 Development Tools
In this blog post, I will demonstrate how to install Napa Office 365 Development Tools onto your Office 365 developer site and how to building apps for SharePoint and Office by using the Napa developer tools. Microsoft has recently introduced "Napa" which is the new Office 365 development tools that lets the developers to build apps for Office and SharePoint within a browser without the help of Visual Studio. Napa” is a web based free app for SharePoint so that you don't need to install anything on your machine to working with "Napa" Office 365 Development Tools. “Napa” is an excellent way to start building apps for the new Cloud App Model.
The following steps will demonstrate how to start building apps by using the "Napa" Office 365 Development Tools.
Step 1 – Create an account in Office 365 Developer Site
In order to working with, you need to create an account in the Office 365 Developer Site. An Office 365 Developer Site is SharePoint 2013 Preview site which can use for building and deploying apps for Office 2013 and SharePoint 2013. You can sign up for a Office 365 Developer account from here.This will provision a SharePoint 2013 Preview Developer Site at http://{yourdomain}.onmicrosoft.com and this site will be your developer site where you can install Napa which enables you to develop apps for Office and SharePoint.
Step 2 – Install Napa to Developer Site
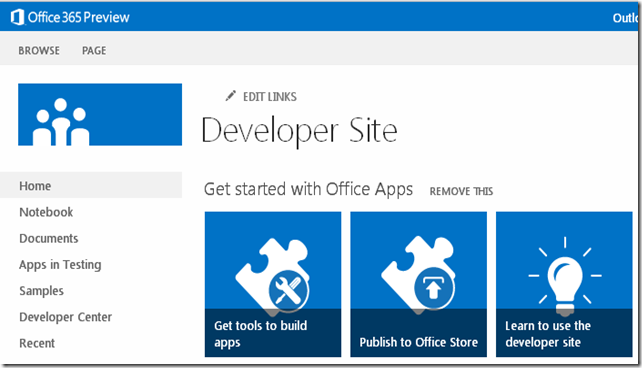
In order to working with Napa developer tools, you need to install "Napa" Office 365 Development Tools onto your developer site. The below picture shows the Office 365 developer site.
In the "Get Tools to Build Apps" tile, click “Install free development tools to build apps”
Click ADD IT to install the app.
Sign in with Microsoft account (previously known as Windows Live Id) when prompt for your credentials.
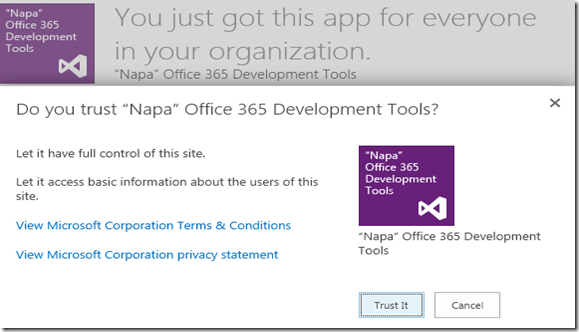
Click Trust It on the below window
After the installing the Napa on the developer site, you would be able to develop apps using the Napa tolls from the browser.
Step 3 - Developing Apps using Napa Office 365 Development Tools
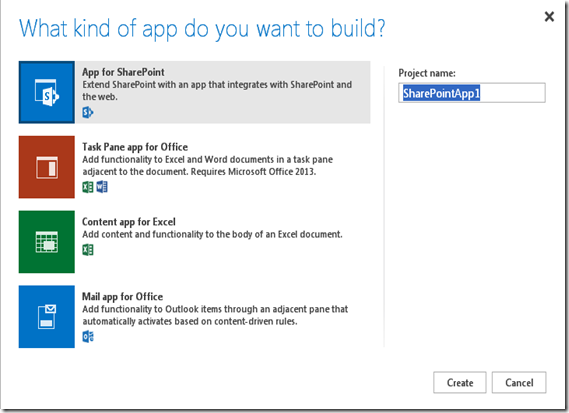
To start developing apps using Napa, click on the "Napa" Office 365 Development Tools icon in your developer site to launch "Napa" Office 365 Development Tools. For this demo, let me choose App for SharePoint and create the project.
After creating the project, it will automatically add following files onto the new project
The new Cloud App Model is based on web standards which enables the developers to use their existing skills such as HTML, CSS and JavaScript for building apps. In this demo app, I have designed the UI by adding HTML elements onto the Default.aspx and its programming logic written in the JavaScript file App.js which implements all the actions for the events of HTML elements.
Default.aspx
1: <%-- The following 4 lines are ASP.NET directives needed when using SharePoint components --%>
2: <%@ Page Inherits="Microsoft.SharePoint.WebPartPages.WebPartPage, Microsoft.SharePoint, Version=15.0.0.0, Culture=neutral, PublicKeyToken=71e9bce111e9429c" MasterPageFile="~masterurl/default.master" language="C#" %>
3: <%@ Register Tagprefix="SharePoint" Namespace="Microsoft.SharePoint.WebControls" Assembly="Microsoft.SharePoint, Version=15.0.0.0, Culture=neutral, PublicKeyToken=71e9bce111e9429c" %>
4: <%@ Register Tagprefix="Utilities" Namespace="Microsoft.SharePoint.Utilities" Assembly="Microsoft.SharePoint, Version=15.0.0.0, Culture=neutral, PublicKeyToken=71e9bce111e9429c" %>
5: <%@ Register Tagprefix="WebPartPages" Namespace="Microsoft.SharePoint.WebPartPages" Assembly="Microsoft.SharePoint, Version=15.0.0.0, Culture=neutral, PublicKeyToken=71e9bce111e9429c" %>
6:
7: <%-- The markup and script in the following Content element will be placed in the <head> of the page --%>
8: <asp:Content ContentPlaceHolderId="PlaceHolderAdditionalPageHead" runat="server">
9: <script src="https://ajax.aspnetcdn.com/ajax/jQuery/jquery-1.6.2.min.js" type="text/javascript"></script>
10:
11: <!-- Add your CSS styles to the following file -->
12: <link rel="Stylesheet" type="text/css" href="../Content/App.css" />
13:
14: <!-- Add your JavaScript to the following file -->
15: <script type="text/javascript" src="../Scripts/App.js"></script>
16: </asp:Content>
17:
18: <%-- The markup and script in the following Content element will be placed in the <body> of the page --%>
19: <asp:Content ContentPlaceHolderId="PlaceHolderMain" runat="server">
20:
21: <div>
22: <p id="message">
23: <!-- The following content will be replaced with the user name when you run the app - see App.js -->
24: initializing...
25: </p>
26: </div>
27: <br />
28: <div>
29: <button id="getListCount">Get count of lists in web</button>
30: </div>
31: <br />
32: <div id="starter">
33: <input type="text" value="List name here" id="createlistbox"/><button id="createlistbutton">Create List</button>
34: <p>
35: Lists
36: <br />
37: <select id="selectlistbox" onchange="getitems()"></select> <button id="deletelistbutton">Delete Selected List</button>
38: </p>
39: <p>
40: Items
41: <br />
42: <input type="text" value="item name here" id="createitembox"/><button id="createitembutton">Create Item</button>
43: </p>
44: <p>
45: <select id="selectitembox"></select> <button id="deleteitembutton">Delete Selected Item</button>
46: </p>
47: </div>
48:
49: </asp:Content>
To run the app, click run button on the left lower corner of the project created in Napa.
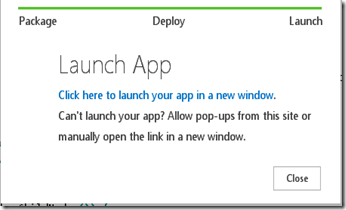
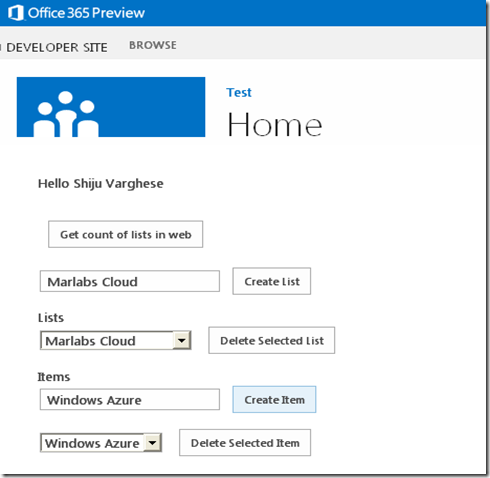
This will launch your app as shown in the below picture
The demo app is running in a new browser window as shown the below picture
Opening the Napa Solution from Visual Studio
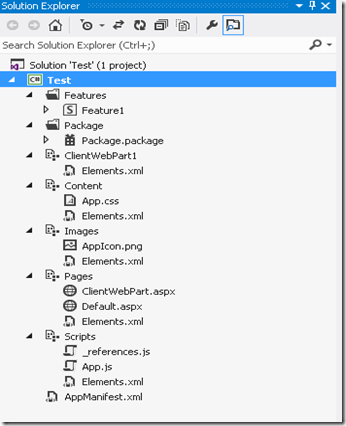
You can open the Napa projects from Visual Studio 2012. To open the projects from Visual Studio, click Open in Visual Studio from the left lower corner of the Napa project window.
The below picture shows the project opened from Visual Studio
Summary
The Cloud based app Napa lets the developers to building apps based on the new Cloud App Model. The new Cloud App Model allows the developers to build apps for SharePoint and Office which can be hosted on SharePoint, Windows Azure Web Sites or your on-premise web server.
