Customize SharePoint 2013 look and feel for intranet sites
It is important to customize the look and feel of SharePoint portal implementation to match your corporate branding. For public websites, branding is in the top of the list, where you need to create appealing websites. SharePoint 2013 addresses the branding of publishing sites and intranet sites in both different ways as the customization requirements varies. For Publishing site, you have design manager where you will be able to define and use your own master pages and page layouts. For intranets that level of customizations are not required, so SharePoint offers certain themes out of the box and it is easy to create your own.
In this article I am going to explain how you create a new theme and apply to your site. For creating a custom look and feel for your website, the following components are involved.
- Color Palette – This is an XML file that defines the color scheme of your SharePoint 2013 site. The extension of this file is .spcolor and by default 32 color pallets are shipped with SharePoint. If none of the 32 fits your need, it is easy to create new one .
- Font Scheme – This is an XML file that defines the fonts used inside your SharePoint 2013 site. The file extension is .spfont. There are 7 font schemes available by default, and if you are not happy with any, you can create your own.
- Master Page – With SharePoint 2013, the Seattle master page, that comes out of the box suits the intranet site, but you can create your own master page and use it.
- Background image – the image that is used as a background of your site.
- Composed Look – The composed look defines a combination of the above three (Color Palette, Font Scheme, background image and Master Page) to define your look and feel that can be applied to the site.
Create your own Color Palette file
To read more about Color Palette and Font Scheme, understand there XML schema, refer
http://msdn.microsoft.com/en-us/library/office/jj945889%28v=office.15%29.aspx
The color palettes and font schemes can be found in _catalogs\theme\15 folder. Find the view of the folder opened from SharePoint Designer 2013.
You can download any .spcolor file or .spfont file and modify it. Editing XML files is not that user friendly and for a designer it will be a tough task. Thankfully there is a SharePoint Color Palette tool released by Microsoft that makes things easy. You can download the color palette tool from the below url.
http://www.microsoft.com/en-us/download/details.aspx?id=38182
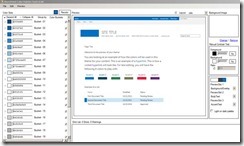
Once you installed color palette tool, you can start creating the color palette file using the visual tools. Also you can download the available color palette file in SharePoint 2013 that mostly matches your requirements and modify them to meet your design requirements.
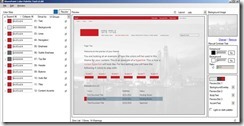
I was able to easily modify the styles of the color palette file and converted the look and feel to the below. Be noted that the background used in the color palette tool is just for your reference. You need to upload and define the background image in the composed look .
Once you are done with modifying your color palette save the file. In my case, I have save it as CustomTheme”.spcolor”. Now you need to upload the file to the gallery, you can use SharePoint designer to import the files to the gallery.
Once imported, you will be able to locate the file in the gallery.
I am ok with out of the box font file, so I am not going to customize the font scheme.
Composed look
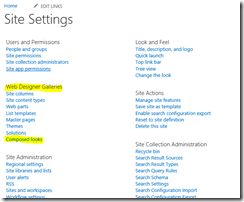
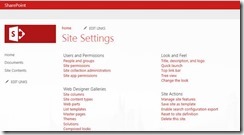
The next step is to create a composed look. You can locate the composed look under web design galleries section in the site settings page.
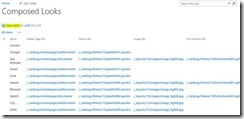
The composed look page will display the available looks.
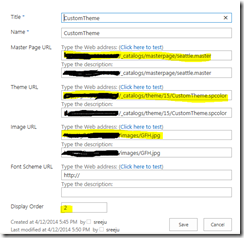
Click on the new item to create a new composed look that uses the color palette you just created.
The fields are self-explanatory. Since I don’t have a specific font scheme, I just left that field empty. Display order defines the order of the theme when it lists the look and feel list. The Image URL is the url to the background image used. You can upload the background image to your SharePoint 2013 site and refer it.
Apply your theme
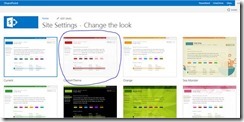
Now from the settings menu, navigate to “Change the Look”.
You will see all the available ones there, and of course your custom one in the position where you defined.
Just click on the custom theme, it will show a preview of the site by using the settings you have defined, you can click “Yes Keep it” link to apply the theme.
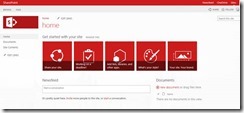
Once you applied, you will find the look and feel changed.
Customizing SharePoint look and feel is easy in SharePoint 2013 than prior versions, with a maximum of one day you can have your SharePoint site in your favorite color scheme. Enjoy!

