Installing Windows 8 Developer Preview in Oracle Virtual Box
Microsoft has released Developer Preview for Windows 8 a while ago. Developer Preview is a pre-beta release of the software. You can download the developer preview from here.
http://msdn.microsoft.com/en-us/windows/apps/br229516
(Update, Microsoft has released the consumer preview now, I shall write another article related to consumer preview, but hope steps of installation will be similar)
I believe most of the developers will install the developer preview in virtual environment. There is a great blog post by Steven Sinofsky who is working for Microsoft. Refer the post here. http://blogs.msdn.com/b/b8/archive/2011/09/16/running-windows-8-developer-preview-in-a-virtual-environment.aspx
As per the article, the support for virtual implementation of Windows 8 is as follows.
Functional:
- Hyper-V in Windows 8 Developer Preview
- Hyper-V in Windows Server 2008 R2
- VMware Workstation 8.0 for Windows
- VirtualBox 4.1.2 for Windows
Non-functional:
- Microsoft Virtual PC (all versions)
- Microsoft Virtual Server (all versions)
- Windows 7 XP Mode
- VMWare Workstation 7.x or older
Be noted that Microsoft Virtual PC is not supported, as Microsoft is focusing on Hyper-V as the virtualization platform. From the list, Virtual Box is free and you can download it from https://www.virtualbox.org/wiki/Downloads
In this article I am going to install Windows 8 Developer preview in Virtual Box. I have downloaded 64 bit version of windows 8. I have installed virtual box in a 64 bit Windows 7.
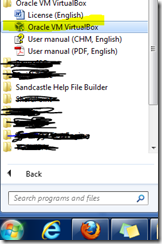
From Windows 7 start menu, select All Programs, under Oracle VM Virtual Box, click on the executable
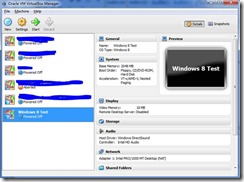
Now the Virtual Box interface will open as follows
It will show all available Virtual machines. Click on the new button in the top menu to create one for windows 8 installation.
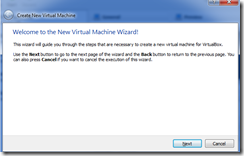
It will bring the new virtual machine wizard welcome screen
Click Next button. In this step you need to give a name for your virtual machine and select the operating system.
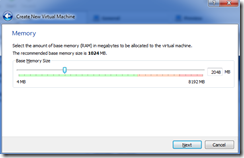
Click next, in this step, you need to select the memory required for the virtual machine. I chose 2 GB Ram
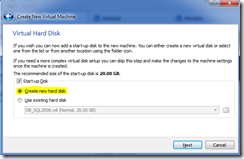
Click next, once you have selected memory. In the next step, you need to configure the hard disk. Select create new hard disk option.
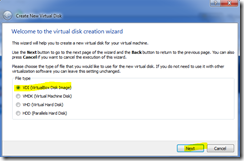
Click next. Now virtual Disk creation wizard will start.
Select VDI option and click Next. Here you need to choose the size of the disk. Choose the option as you prefer. I have selected Dynamically allocated space, as I don’t have any idea of what size I need.
Click Next button. It will ask you to name the hard disk file. It is recommended to leave these as defaults.
Click Next, it will show you the summary. If all good, click on the Create button to create the disk.
Now you will see the new virtual machine created and is available in the list of Virtual machines.
Let me summarize what we have done till now, we have created a virtual machine and created a hard disk for it. Now you need to mount the installation media so that when the machine starts it can boot from the installation media.
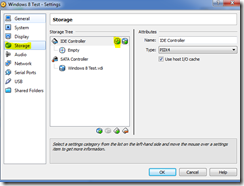
Right click the virtual machine (Windows 8 Test), click settings. Select the storage tab.
Click on the ![]() icon, this will add a CD/DVD to the virtual machine. When you click on the icon, a popup will appear, select choose disk.
icon, this will add a CD/DVD to the virtual machine. When you click on the icon, a popup will appear, select choose disk.
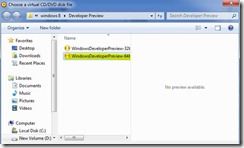
It will ask you to select the ISO image. Select the ISO image you downloaded. I downloaded both 32 bit and 64 bit. Since virtual box supports 64 bit guest OS, I selected 64 bit version of the ISO.
Click open once you selected the file. Now you have mounted the ISO. Click ok to close the settings dialog. Now select the Virtual Machine and click the Start button
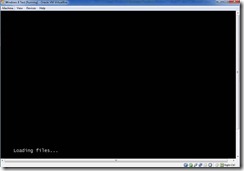
Virtual machine will start and boot from the ISO that you mounted. You will see loading files window immediately as windows installation starts.
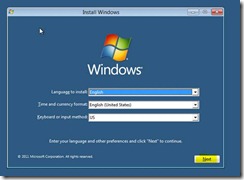
Installation is pretty straight forward. First it will ask you to select the language.
Click Next once you selected the options that best suits you. Once you click next, it will just ask you a confirmation.
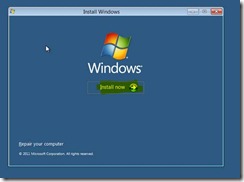
Click on the Install now button.
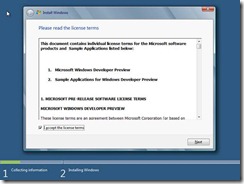
Now the setup will ask you to accept the terms and conditions. Select the checkbox and click next.
In the next step, the setup will ask you the installation types. Since you are going to perform a fresh installation, you just select Custom option.
In the next step, setup will ask you to select the partition where you need to install Windows 8.
Now the windows installation starts.
You can just sit back and relax. The installation will take some time depending on your settings. I had selected 2 GB of RAM and I was working in an I7 processor. It took around 30 minutes to complete the installation.
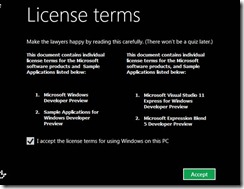
Now I will be presented with another license agreement
Click on accept so that the personalization steps starts. First you need to give a name to your computer. I named it as MyWindows8, but you can stick to your favorite names. In the next step, you need to select settings for the PC. I just chose express settings. If you want to customize, you can click on the customize button and select the options as you wish.
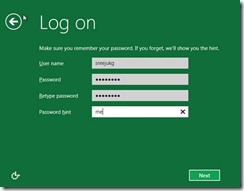
In the next step you can enter your windows live ID username, so that your account will be synched with windows 8. I just selected “Don’t want to login with a windows live ID “ option and then select Local account to login. Now I need to create a user account. I entered the required details
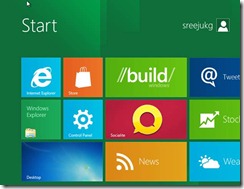
Click Next, you are done with the installation. Now the computer will be prepared for your use. It may take few minutes as everything needs to be setup for you. Once logged in I can see the Windows 8 new interface.
You can explore the new UI. As this is developer preview, don’t expect everything 100%. Also since I installed this in virtual environment, the performance depends on lot of other factors. First thing you will notice is that you don’t have a shut down option available by default. But you can find a command prompt available (Developer command prompt).
Select the command prompt and enter the command
Shutdown /s /t 0
Just press enter and you will see the computer will start shutting down.
Windows 8 is the next version of windows that changes the behavior of prior versions of windows. This will be running on tablets and hopefully on phones. So users will get the same user experience irrespective of the device…
